Introduction

This guide describes how to remove everything from the Motorola Moto G Play 2023.

  1. YWgnQjderQIGQ2p6
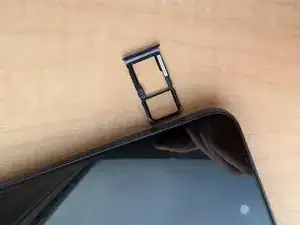
    • Use a SIM tray ejection tool, or the one on your iFixit screwdriver's cap, to eject the SIM tray.

  2. HFPhIe6krbeaASV1
    HFPhIe6krbeaASV1
    Wti24cWVoZ2j2OeS
    54bxObGUqGirD16V
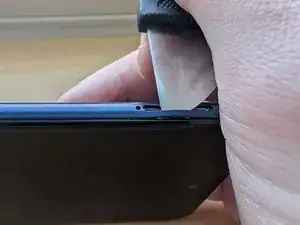
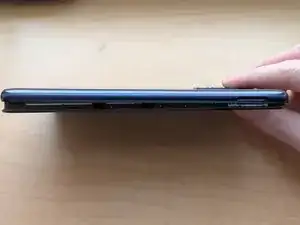
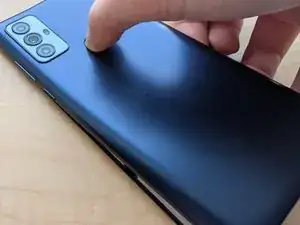
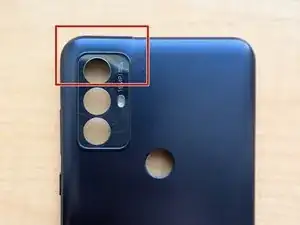
    • The back plate is very fragile in some areas, so be careful when prying. These areas are the SIM slot, power and volume buttons, headphone jack, and camera bezel.

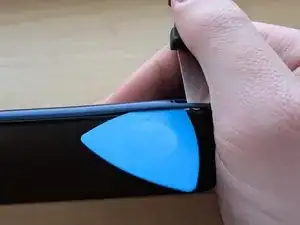
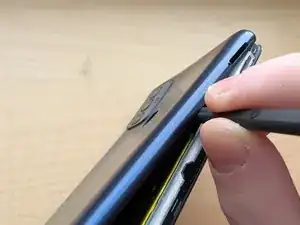
    • Insert a shimmy tool in the SIM slot, into the edge of the plate, to create a gap. Then, insert a pick into the gap, and slide it across the edge of the phone, to unclip the plate.

    • Do not try to unclip the part around the camera. We will save that for step 4.

  3. NnSvYEyDLw5TnOw3
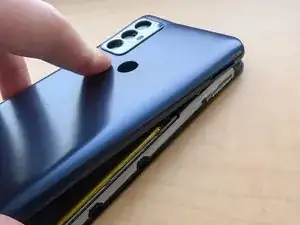
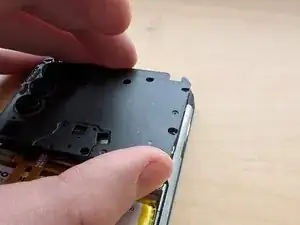
    • While carefully lifting the back plate up, push the fingerprint sensor down to separate it from the plate.

    • Again, take caution when lifting the back plate, as to not damage the area around the headphone jack, and volume buttons.

  4. UGQnAGpW2BYeAVI5
    UGQnAGpW2BYeAVI5
    TCyoWoZnt2FbnPXN
    ZJENaOfsbMPpDg41
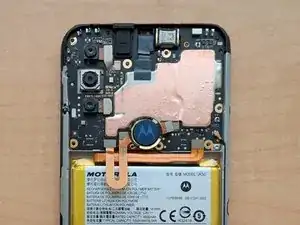
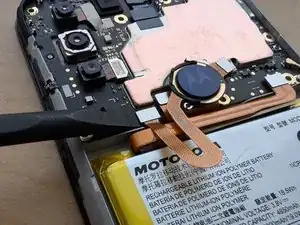
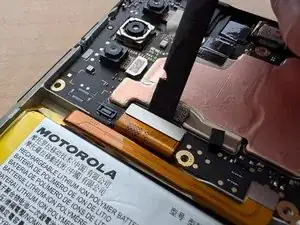
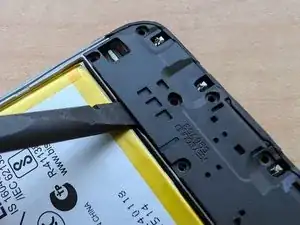
    • Insert a spudger into the phone, to separate some of the glue from the phone.

    • Be careful not to poke the battery, or the fingerprint sensor and it's ribbon cable.

    • Again, be careful as to not bend the plastic around the headphone jack, as I did on accident (shown on image 3). These things suck!

  5. tgkhmYlRCrSSGljH
    tgkhmYlRCrSSGljH
    UVkiPPHeYS6eZItR
    PCb1PCfd1eERQbNu
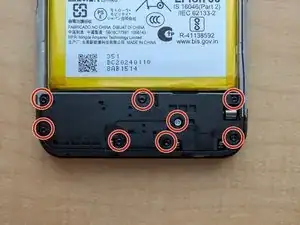
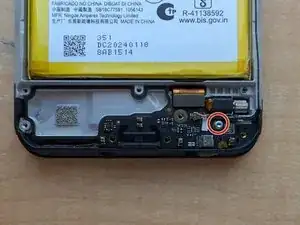
    • Using a TORX T5 bit, unscrew and remove the screws shown with the red circles. Then, lift out the cover.

  6. FqBQcS3uJ4SsrsFu
    FqBQcS3uJ4SsrsFu
    6XtshuNNSJEFPtTM
    kMAUW2WvNhqX2IWU
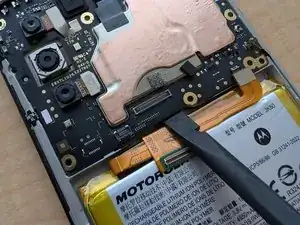
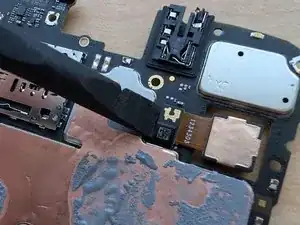
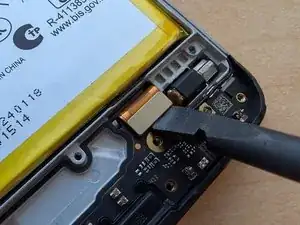
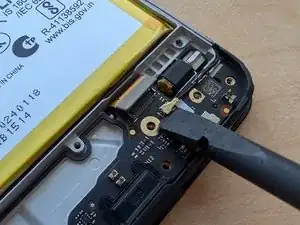
    • Remove the fingerprint sensor, screen/daughterboard, and battery ribbon cables, with the spudger.

  7. Z4tuNXPU3HtSAGqI
    Z4tuNXPU3HtSAGqI
    r2Qe5jFMQsBsMbX3
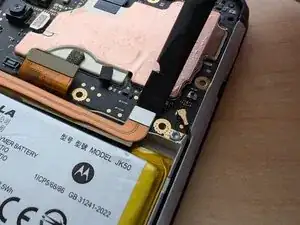
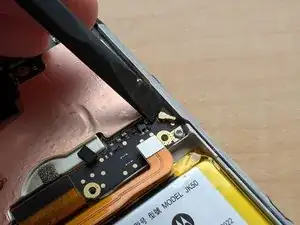
    • Using the spudger tool, pry the WiFi antenna out of the motherboard.

  8. DKPnNe3DDBcIRXsU
    DKPnNe3DDBcIRXsU
    qeyfYLSEEHSGAdhj
    JR2COuKeAZTDIUpt
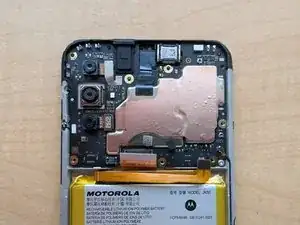
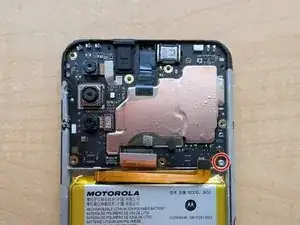
    • Using a TORX T5 bit, remove the screw at the bottom corner of the motherboard, highlighted in red. Then, using the spudger, pry the motherboard out of the body.

  9. HmmOuhlNHNQjoese
    HmmOuhlNHNQjoese
    lihXEWcsDqJVH1wI
    Cx5hKXaoXyr6irOj
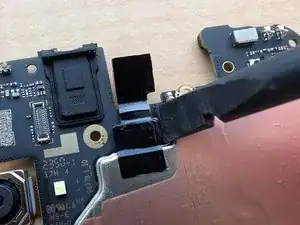
    • Using a spudger, pry the cameras out of their connectors on the motherboard. There are 3 cameras connected on the front of the board, and one on the back. Peel the tape off with the camera, if need be.

  10. E2kAJEx5vJ6lXELZ
    E2kAJEx5vJ6lXELZ
    JhMaGGImNRODVPub
    vZTrGgKjeTJJxeiW
    • Again, using a TORX T5 bit, unscrew the screws highlighted in red. Then, use a spudger to lift the plate out.

  11. YMKkSDuaxXOLsVba
    YMKkSDuaxXOLsVba
    m1DhcOM3rV3wTEZx
    3wXQ6PA24spKTh2m
    • Use a TORX T5 bit to remove the screw - highlighted in red - holding in the board. Then, use a spudger to disconnect the ribbon and antenna cables.

  12. 3HWS5kJ2GYZlfVGM
    3HWS5kJ2GYZlfVGM
    NCWIidgRslYaFIt2
    • Use a spudger to take out the daughterboard, and pull out the cable with your fingers.

  13. 5tCdumUlkAptAO2V
    5tCdumUlkAptAO2V
    4HNQqvin6AC2hoEC
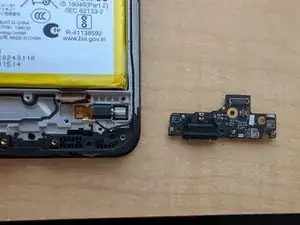
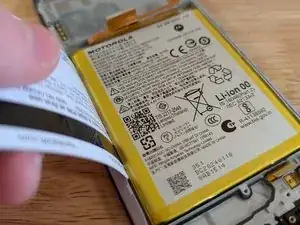
    • Heat the front of the phone up a little bit with a hair dryer or heat gun, then use an old credit card to lift out the battery.

    • Do not poke the battery, and make sure it's been discharged. Also, do not heat the phone up to the point it gets got.

    • Be very careful when using isopropyl alcohol to loosen the glue! Otherwise, it will leak into the LCD and damage it.

  14. GTvyrcCHqdV5hFKN
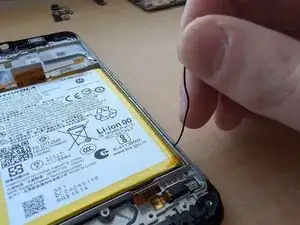
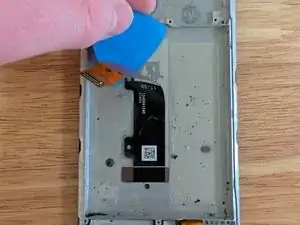
    • Using a pick, separate the glue on the frame away from the ribbon cable.

  15. JGelJCp55t6IfZZo
    JGelJCp55t6IfZZo
    KNKtLHcrXmse4SUO
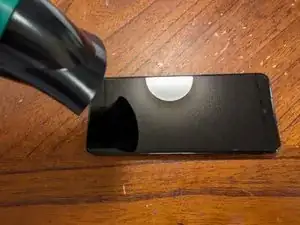
    • Using a hair dryer or heat gun, heat up the front of the phone, until it becomes warm to the touch. Then, wedge a jimmy tool in between the frame and the screen, and glide it across the perimeter of the display.

    • Only insert the jimmy about 2mm into the screen bezel, otherwise, you will ruin the display.

  16. p6f3I3wXmMFNZ2hu
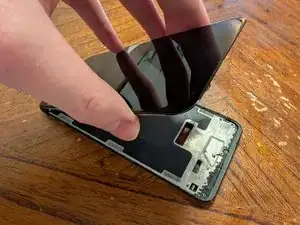
    • Insert the jimmy into the top of the phone, and pry out the display with it. Then, lift it out of the frame, and pull the ribbon cables out.

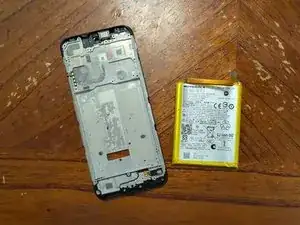
    • The teardown process is complete! In order to put everything back together, follow this guide in reverse.

susbaconhairman skribbler

Member since: 21/10/22

648 Reputation

0 comments