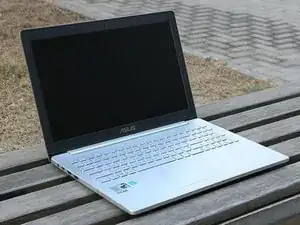
Introduction

4 comments
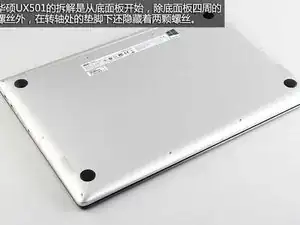
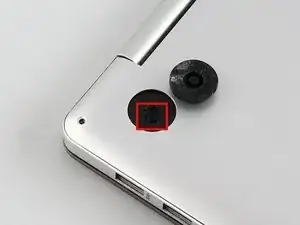
Hi. I have a UX501. I attempt to disassemble. However when I remove the rubber stoppers to get at the hidden screws, the screws are covered by a glob of thick black plastic. I can see one of the screws but it is buried very deep in the plastic.
Do you know anything of this? What is the best way to get through the plastic.
That adhesive is molded to spec, bottom tray to rubber feet, so don’t toss it, you’ll need it to reattach the rubber feet. I would recommend lifting the delicate sticky carefully, its near impossible but it’s cut specifically to match the screw holes underneath.
these instructions need to be amended since not all four rubber feet have screws beneath them.
c0BRA -
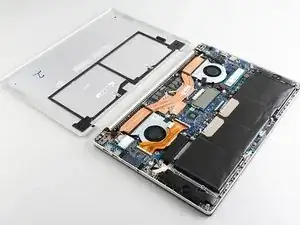
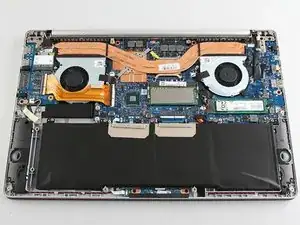
What Happened to the Rest of The Teardown-Steps?
FIVE (5) STEPS IS NOT A TEARDOWN
I need to remove my MBoard and prep it for shipping / repair.
c0BRA -
Thanks cOBRA. That seems like a tough little job! Those guys are really stuck in there.
I have to take it on the road for a week so won’t get to it until I get back.