Introduction
-
-
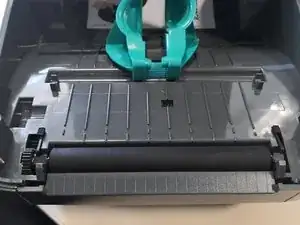
Power Off the device and open the main cover
-
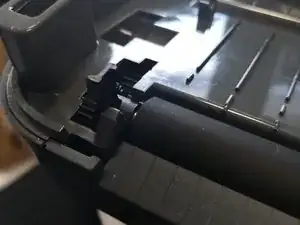
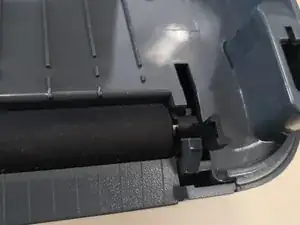
locate the 2 tabs on either side of the roller and push them outwards to release them
-
Pull up on both tabs to release the roller from the printer
-
-
-
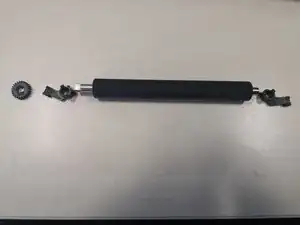
The new Roller will be packaged in separate sections in the order that it needs building
-
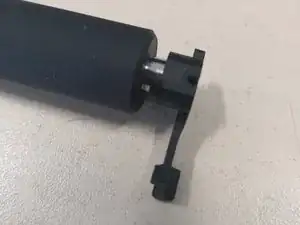
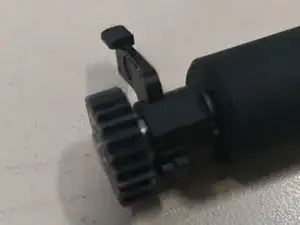
Starting on the right the shorter side of the roller place 1 tab
-
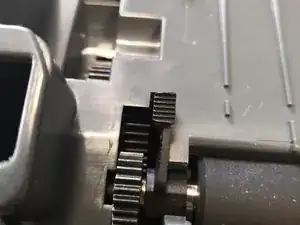
On the left side of the roller place the other tab and then the cog to secure the tab in place
-
-
-
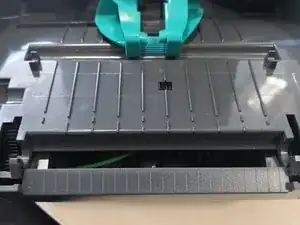
Make sure the printer is clear of debris
-
Insert the roller keeping the tabs up
-
Once inserted push the tabs down to lock in place with the body of the printer
-
Conclusion
To reassemble your device, follow these instructions in reverse order.