Introduction

Many drone repairs are relatively simple, replacing a motor is a crucial fix when your drone experiences reduced performance or stops flying altogether. Motors are responsible for the drone's lift and stability, so a faulty motor can make the difference between smooth flights and frustrating crashes. It may seem like a daunting task, but replacing a motor is straightforward with the right tools and instructions.

  1. QNFse4MFsabFMcmk
    • Remove the propeller from the side where the motor is not working.

    • You can remove the propeller at any point in the replacement.

  2. nhhyDX2cSBCiGHGJ
    nhhyDX2cSBCiGHGJ
    xidnGYZnvLvSsard
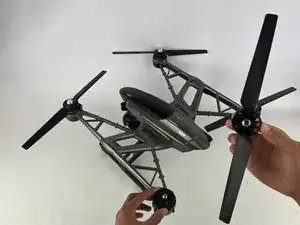
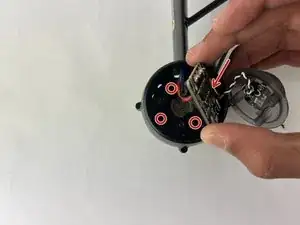
    • Grab the motor with one hand and propeller with the other.

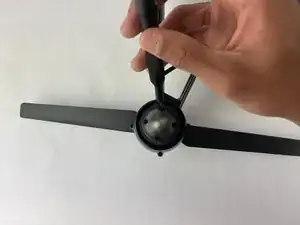
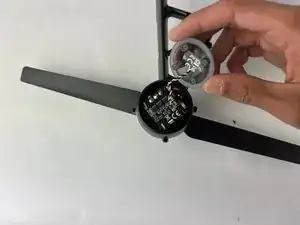
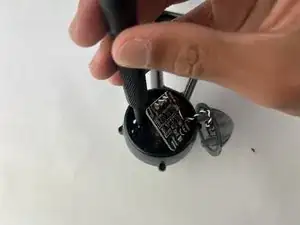
    • Turn the propeller counterclockwise to separate the propeller from the drone.

  3. AbhMwjRKRydUy4L2
    • Flip the drone upside down.

  4. FeasKySpWYwywkqO
    FeasKySpWYwywkqO
    MVRdXywLBFxNUVuC
    3RdDoyvNGEWW1B2K
    • Use a Phillips #00 screwdriver and remove the four screws that secure the light cover.

  5. r6XRwQdstAdRq1FQ
    • Use the plastic opening tool to pry up and out the PCB.

  6. ANSQiiW1auCfspMI
    ANSQiiW1auCfspMI
    TCkC25BcgQOMsehA
    • Use a 2mm Hex screwdriver to remove the four screws that are located below the PCB.

  7. Nd5KO1RJdnslNENL
    • Flip the drone over then replace the motor with a new one.

Conclusion

To reassemble your device, follow the above steps in reverse order.
Take your e-waste to an R2 or e-Stewards certified recycler.
Repair didn’t go as planned? Try some basic troubleshooting or ask our Answers community for help.

Dev Panchal

Member since: 30/10/24

680 Reputation

0 comments