Introduction
While the frame of your drone is designed to endure typical flights, hard landings, crashes, or impacts can sometimes cause damage, especially to the bottom frame. A damaged bottom frame can affect the drone’s stability and may interfere with the mounting of other components. Replacing the damaged frame is an essential repair to restore your drone’s structural integrity and ensure it remains flight-ready.
This guide will show you how to remove and replace the bottom frame. You’ll learn how to:
- Safely detach the broken bottom frame from the drone’s body.
- Install the new frame securely, ensuring proper alignment and connections.
- Verify that all parts are properly secured to maintain stability.
-
-
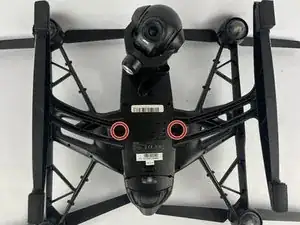
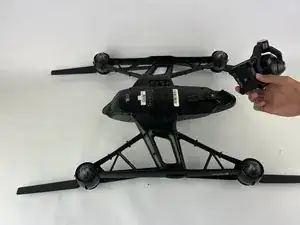
Flip the drone upside down.
-
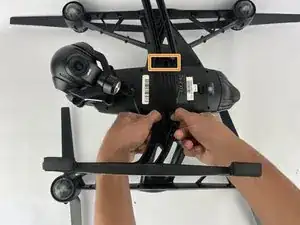
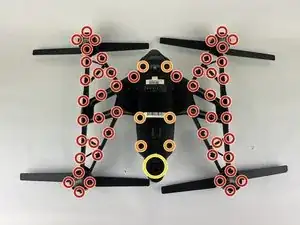
Use a 2 mm Hex screwdriver to remove the two screws that secure the legs to the drone.
-
-
-
Turn the drone to the side so that you can get better grip.
-
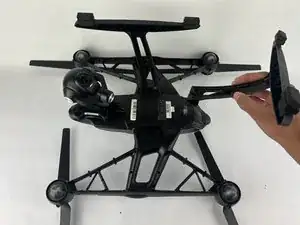
Put both thumbs on the plastic clamp and detach the legs from the main body.
-
Repeat same steps for other leg.
-
-
-
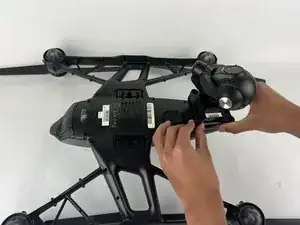
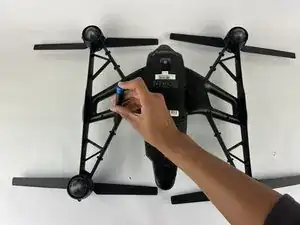
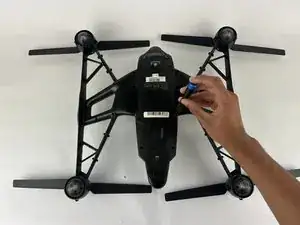
Use one hand to hold drone and other to hold camera, then slide the camera off the body of the drone.
-
-
-
Use a TR6 Torx screwdriver to remove the screws connected to the bottom frame.
-
Use a TR8 Torx screwdriver to remove the screws located at the center frame.
-
Use a TR6 Torx screwdriver to remove the screws connecting the center frame to the propellers.
-

To reassemble your device, follow these instructions in reverse order.
