Introduction
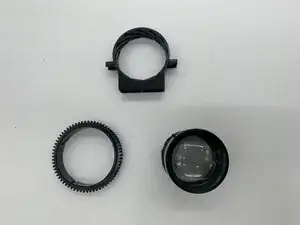
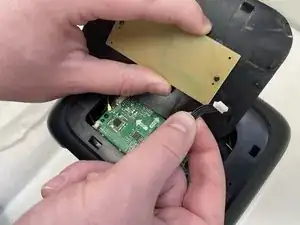
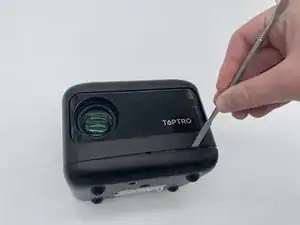
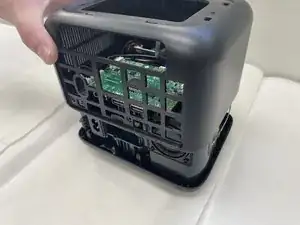
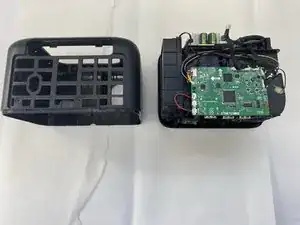
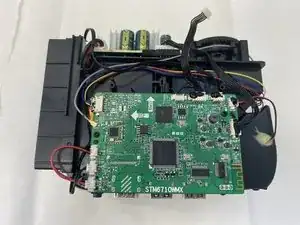
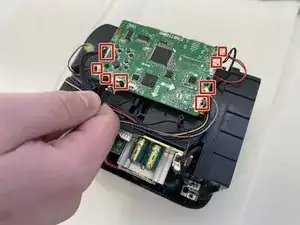
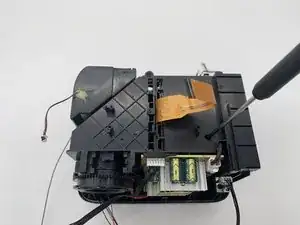
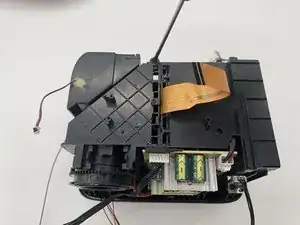
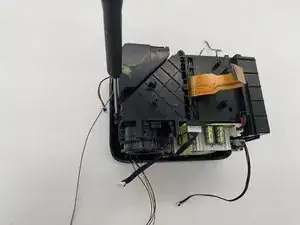
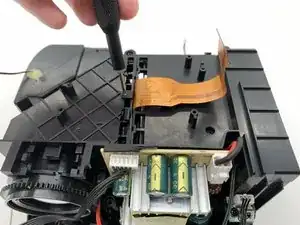
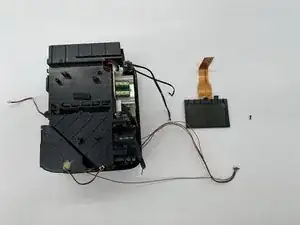
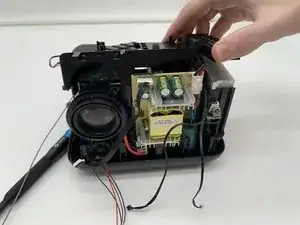
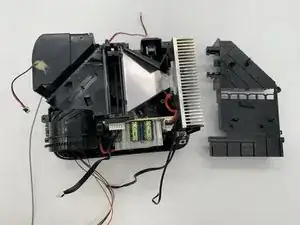
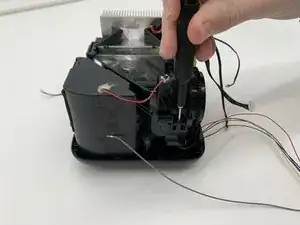
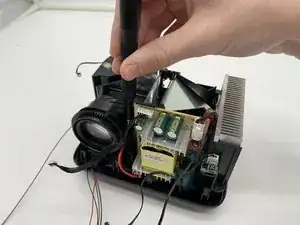
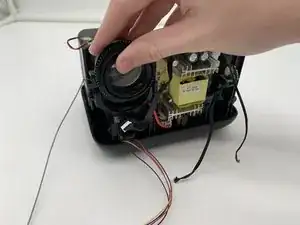
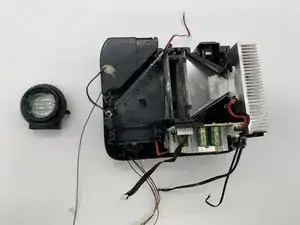
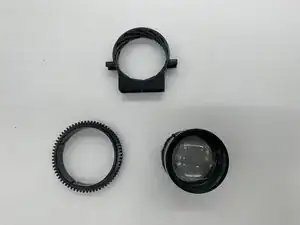
Before starting this repair, it's important to know that replacing the lens involves removing the circuit board. This guide is for you if your lens is cracked or otherwise damaged and needs replacing. However, if the projection has dark spots, it might need to be cleaned. If you've already removed the circuit board and only need to replace the lens, you can skip to step 9. For this repair, you'll need an opening tool and a screwdriver. While the steps aren't complicated, you should proceed with caution—some components, like the wires, the lens, and the rivets, are delicate and can easily be damaged if you're not careful.
Tools
-
-
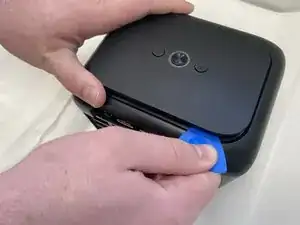
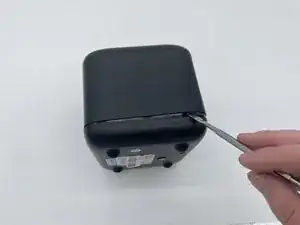
Insert an opening pick in the seam between the top panel and chassis.
-
Pry around the entire perimeter of the top panel until it fully releases.
-
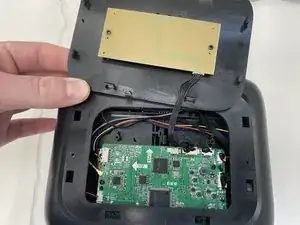
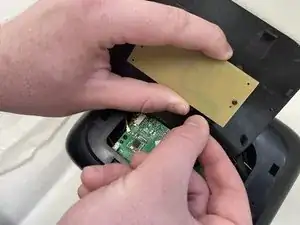
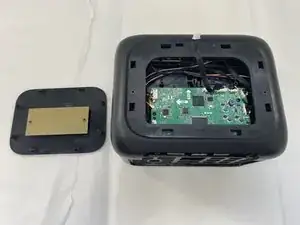
Remove the top panel.
-
-
-
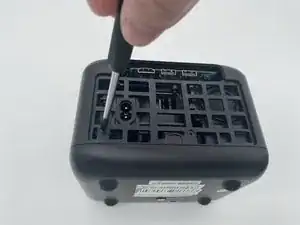
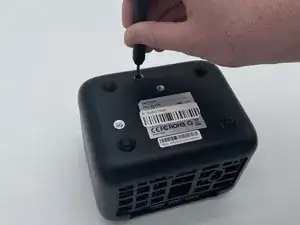
There are three Phillips screws securing the case on. Two are inside the opening left by the previous step, and the third is located on the underside of the projector. Remove all three.
-
-
-
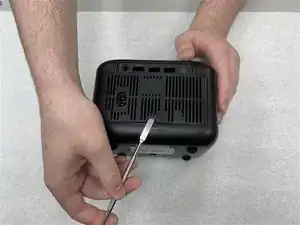
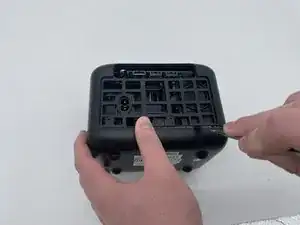
Insert a spudger into the seam between the lower panel and chassis.
-
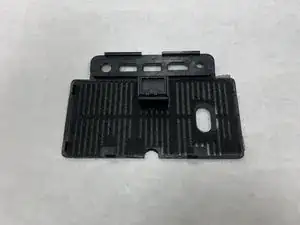
Pry around the perimeter until the lower panel fully releases.
-
-
-
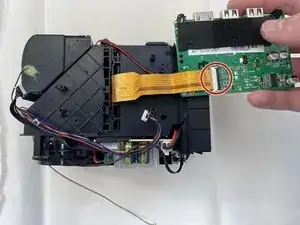
Flip the board over with care not to damage the attached ribbon cable.
-
Flip up the black locking ZIF flap that secures the ribbon cable.
-
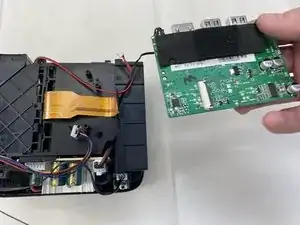
Disconnect the ribbon cable.
-
Remove the main board.
-
To reassemble your device, follow these instructions in reverse order.
