Introduction

In order to replace the case for this device you will need a spudger and a screwdriver. It is not hard to open but you might have to use a little bit of force to pry off some parts.

  1. cRAu6SWkPTfWHmmc
    cRAu6SWkPTfWHmmc
    3kqOATvTYfJOXKyM
    N1lDtVJ5CGOC2IEm
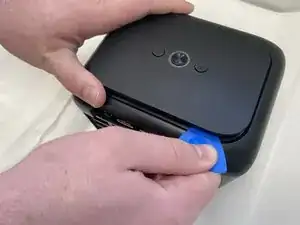
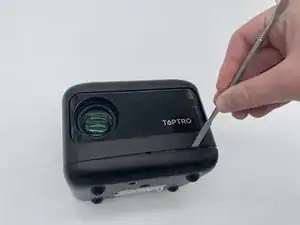
    • Insert an opening pick in the seam between the top panel and chassis.

    • Pry around the entire perimeter of the top panel until it fully releases.

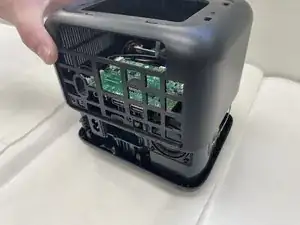
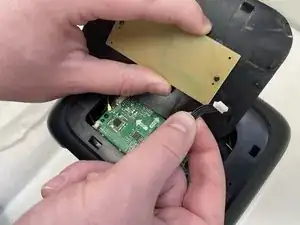
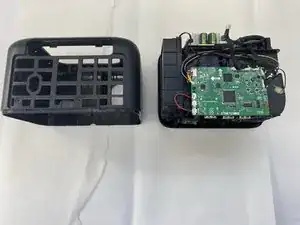
    • Remove the top panel.

  2. ro4ZejOPSHrbvYDV
    ro4ZejOPSHrbvYDV
    bViKALhP5syKt4UR
    HRrrGKJFKyrThcCG
    • Unplug the cord connecting the top button panel to the projector,

    • Make sure to disconnect the end connected to the panel and not the chassis.

    • The cord is small and sensitive and could sustain damage if pulled out aggressively.

  3. gMTECrJElSX1hbti
    gMTECrJElSX1hbti
    uFYHPxvsy4hTINdc
    • Insert a spudger into the semi-circle panel indent and pry up to remove it.

  4. FJ644EVYu2XmPXIM
    FJ644EVYu2XmPXIM
    bZGHQhGkXcRT3uCe
    DnFJ5aclNompHRAD
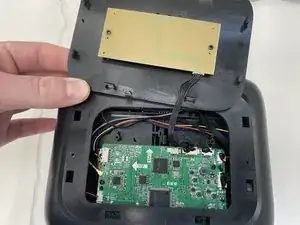
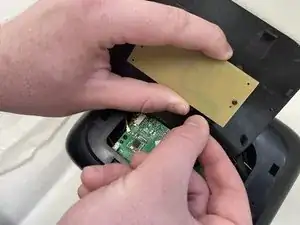
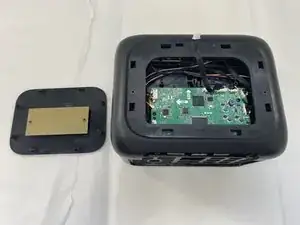
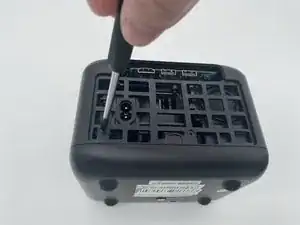
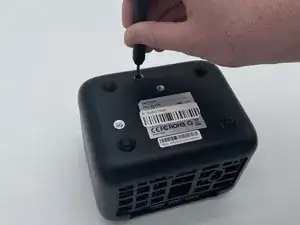
    • There are three Phillips screws securing the case on. Two are inside the opening left by the previous step, and the third is located on the underside of the projector. Remove all three.

    • The third sticker may be located underneath a QA (quality assurance) sticker. If you are having trouble finding it, look for that sticker.

  5. tkLCD1A6QeKUKiin
    tkLCD1A6QeKUKiin
    ahUEOqkoXY5EkX2I
    tfQ6sXI525RKfBNM
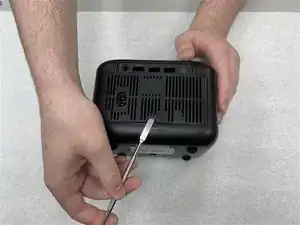
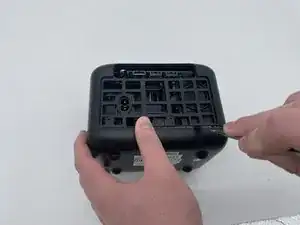
    • Insert a spudger into the seam between the lower panel and chassis.

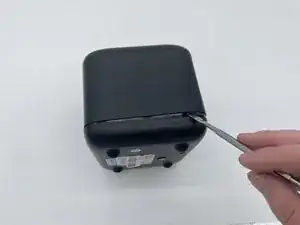
    • Pry around the perimeter until the lower panel fully releases.

    • We suggest starting at the front, but starting from any side will work.

  6. 2BHWGTgUDtunKkNE
    2BHWGTgUDtunKkNE
    juv1Y2KCnNCqva6M
    • Remove the case from the projector and set it aside.

Conclusion

To reassemble your device, follow these instructions in reverse order.

Keion.M.Shelton

Member since: 28/08/24

497 Reputation

0 comments