Introduction

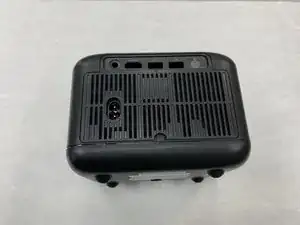
If you are looking to replace or just clean the dust filter, this guide is for that. You'll need an opening tool such as a plastic or metal spudger. The steps are straightforward and don't involve anything overtly complicated, but be sure to be careful to avoid damage to the rivets.

  1. pjrcLQOxCkkjws5l
    • Place the projector face down so rear is facing up.

  2. CNgFtRJBiL4cLCQJ
    CNgFtRJBiL4cLCQJ
    a6mdkl4xJrPQTwMw
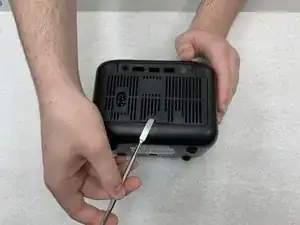
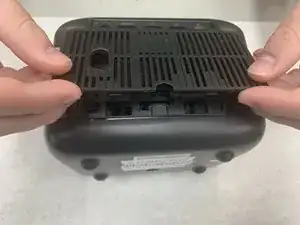
    • Wedge a spudger into the half-circle idnent and pry the panel off until it partially pops open.

    • Go around the perimeter of the panel with the spudger to pry it the rest of the way off.

    • Be careful not to apply too much force so that the pop tabs holding it on don't break.

  3. 4AWMsVoSdloBnT2p
    4AWMsVoSdloBnT2p
    NDotltupS22ugLJk
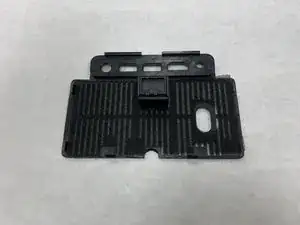
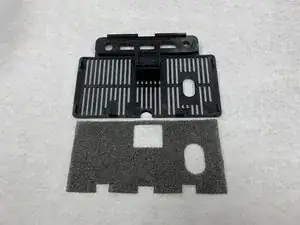
    • The panel you've just removed has a foam dust filter in it. It is not attached to the panel, so just remove it by hand.

    • If possible, clean the original dust filter and put it back onto the panel.

  4. 1jRMXRvHQ6DodCVG
    1jRMXRvHQ6DodCVG
    XYBZYL2pK4xUi5AT
    • Reattach the panel to the projector. The side opposite the indent you used to open it has tabs and that side needs to go in first.

    • Apply pressure all around the edge until the panel is fully attached.

Conclusion

To reassemble your device, follow these instructions in reverse order.

Keion.M.Shelton

Member since: 28/08/24

497 Reputation

0 comments