Introduction

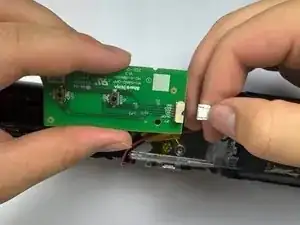
The circuit board acts as the brains of the device and without it, the vacuum will not function. As a result, when dealing with the circuit board, be sure not to damage or scratch the surface, as it may damage components necessary for operation.

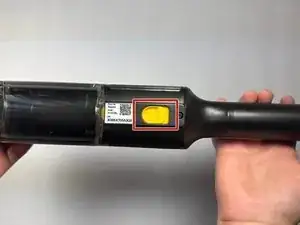
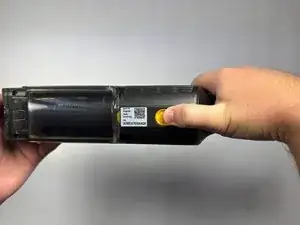
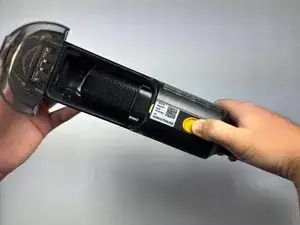
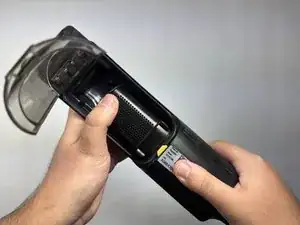
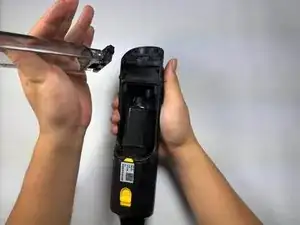
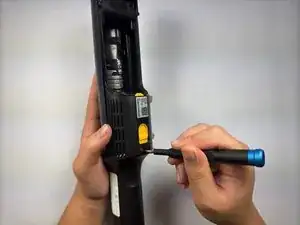
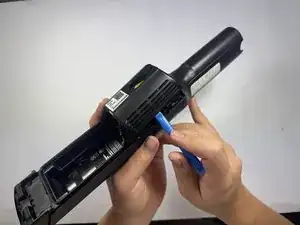
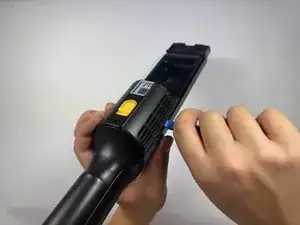
If you need to replace the circuit board of your Shark Wandvac Power Pet WV410, this guide will walk you through the steps. A faulty or unresponsive button may also warrant the need for such a replacement.

  1. dKy2EajuWuR1RmLT
    dKy2EajuWuR1RmLT
    xfxFfxtbCwCbKXDU
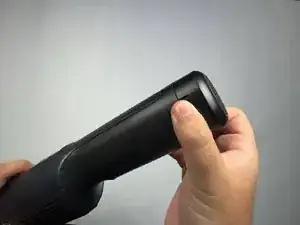
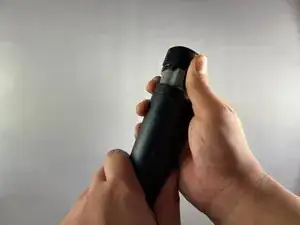
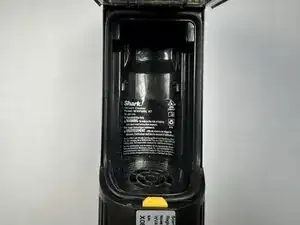
    • Locate the tabs to push in on the battery.

    • Squeeze down on the tabs.

  2. ZFF52qF2AnAfAEgG
    ZFF52qF2AnAfAEgG
    YGCkUm3w3BUL2RBG
    UxEHbpYqELE6k3kp
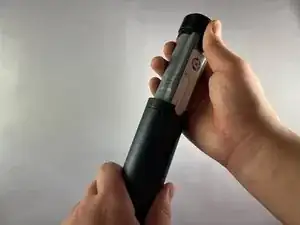
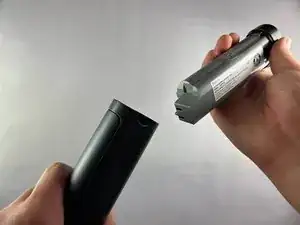
    • Pull the battery out.

  3. jOGJYJpYnWANXU5W
    jOGJYJpYnWANXU5W
    eyOZ4jlnSRCVRI6W
    JtKrBfoONbk2J6E5
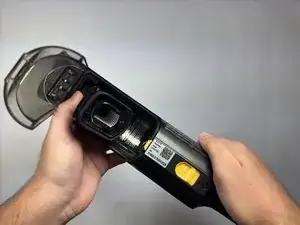
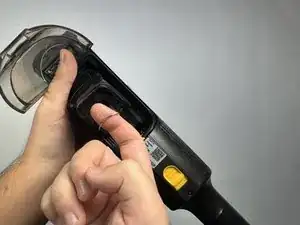
    • Push down on the yellow release tab to open the dust cover.

  4. k2EypRfHHdDTBV5g
    k2EypRfHHdDTBV5g
    PDTqFCdMF5FpSMVP
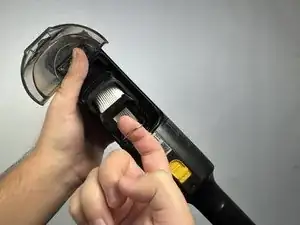
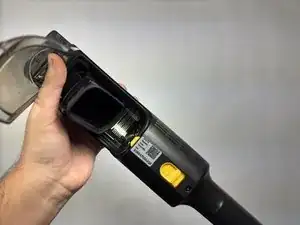
    • Firmly pull the filter box forward to reveal the filter opening.

  5. VhLypQWYKSsT2uWW
    VhLypQWYKSsT2uWW
    4hEjBOfM6TxNFZet
    1lEkotb2WTystaUE
    • Lift the metal ring and pull out the fabric filter from the filter box.

  6. hlhSnnpkBXSjIk6a
    hlhSnnpkBXSjIk6a
    XWHepqQYnrAGwtaD
    V2HBcUBQxfxR3CIh
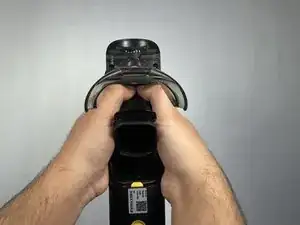
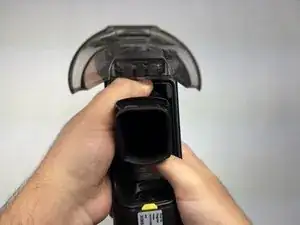
    • Flip up the filter cup and push down with your thumbs towards you.

    • You will hear a pop when it is successfully released.

  7. JRwEP6cOSyXalCJI
    JRwEP6cOSyXalCJI
    aOXn1LVUWh2AuqHZ
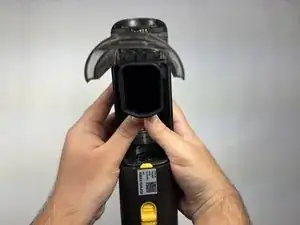
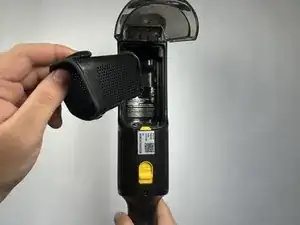
    • Remove the cup.

  8. JW42kNCe3ckwxOcH
    JW42kNCe3ckwxOcH
    R6TtHpq4rQoBkVOK
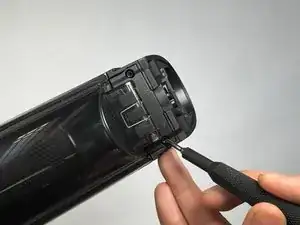
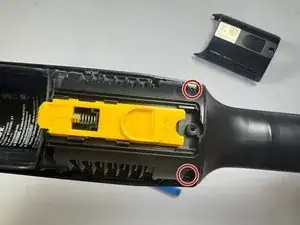
    • Use a Torx T3 screwdriver to remove the two screws that attach the dust cover to the vacuum.

  9. 5Ofl5CWfXZo6lWNh
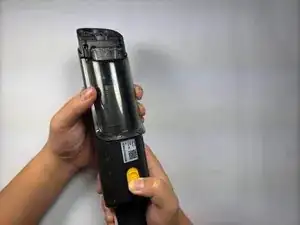
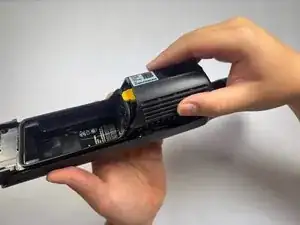
    • Push and slide the yellow release button down to open the dust cover.

  10. HqcBkmYHsBHMpcWA
    HqcBkmYHsBHMpcWA
    TjHabCd3gTtq4aHU
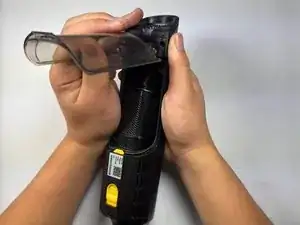
    • Remove the dust cover.

  11. xK3QhMfIrxFiaRRQ
    xK3QhMfIrxFiaRRQ
    KIQT4cbuee4LPxBj
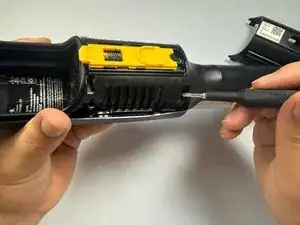
    • Use a Torx T3 screwdriver to remove the single screw near the yellow dust cover slide-release button.

  12. Q23coxvp6LgBBE2H
    Q23coxvp6LgBBE2H
    o2NFJArwhDQX5G3y
    22XwbEYDYpZJqnsS
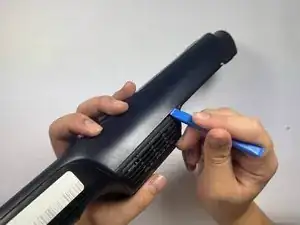
    • Use the plastic opening tool to pry between the seams of the yellow slide button cover and the vacuum frame to release the tabs holding them together.

    • Make sure to release the tabs on both sides of the cover to avoid breaking them.

    • Remove the black cover.

  13. 45tDdKwTxSukPLED
    45tDdKwTxSukPLED
    h2E1usaOVGn6BMSF
    • Use a Torx T3 screwdriver to remove the two screws.

    • These screws must be removed to safely remove the dark blue cover.

  14. Z4KJ3GlvY6VT4iRQ
    Z4KJ3GlvY6VT4iRQ
    ZWouWtxaSP5N3NbY
    jXBf15pHypTfVPxJ
    • Pry along the edge of the dark blue cover to remove it.

    • The dark blue cover is glued near the handle so be careful to avoid cracking the cover when removing it.

  15. ZBUKfXAhtwpGCBFW
    ZBUKfXAhtwpGCBFW
    eKcCTRMld1bXQDnx
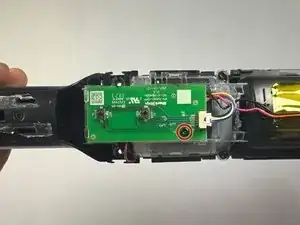
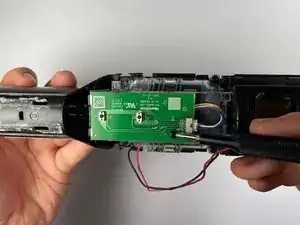
    • Use a T3 Torx screwdriver to remove the single screw securing the circuit board.

    • Avoid touching/scratching the circuit board.

  16. xIPSjfpRfGJAJKXe
    xIPSjfpRfGJAJKXe
    KwnpIMKEg1cuycmD
    LK5AlxHFtTkQjaOW
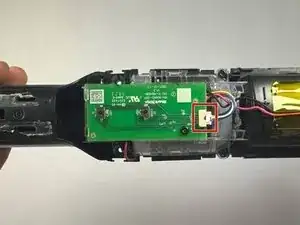
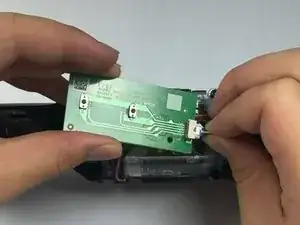
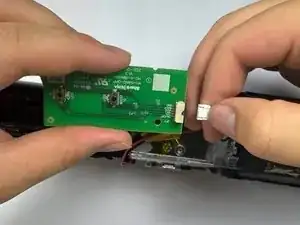
    • Press on the sides of the connector and gently pull it from its socket to disconnect the cable from the circuit board.

    • Don't pull on the wire cable as it may damage the connector or rip the wires out.

    • Remove the circuit board from the vacuum.

Conclusion

To reassemble your device, follow these instructions in reverse order. Take your e-waste to an R2 or e-Stewards certified recycler.
Jason Wu

Member since: 16/09/24

472 Reputation

0 comments