Introduction

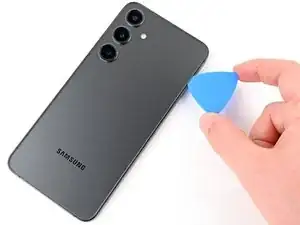
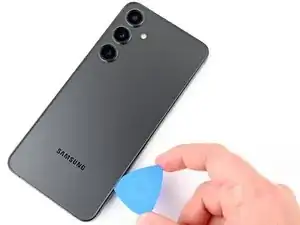
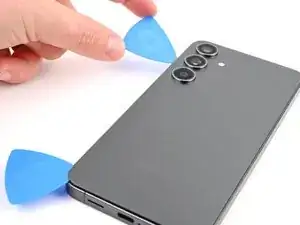
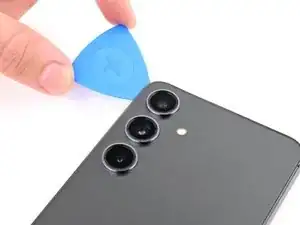
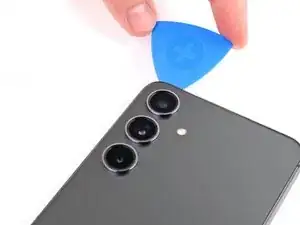
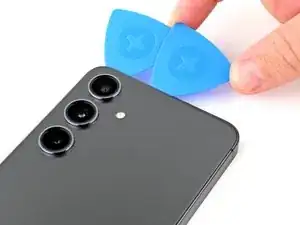
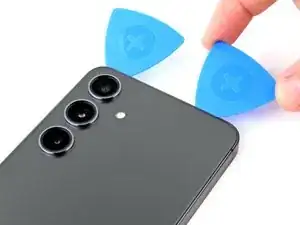
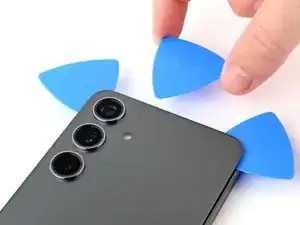
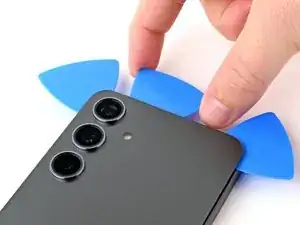
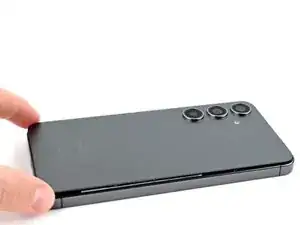
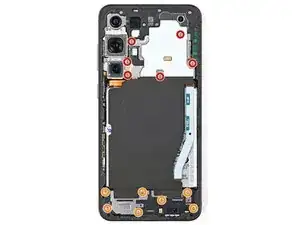
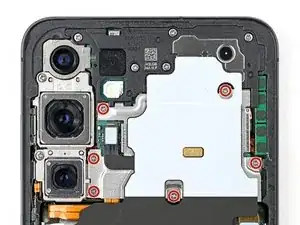
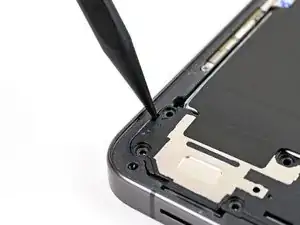
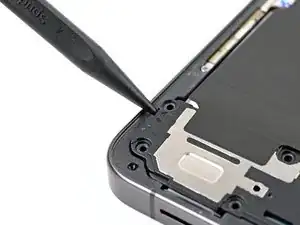
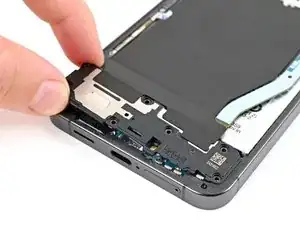
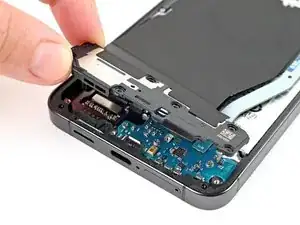
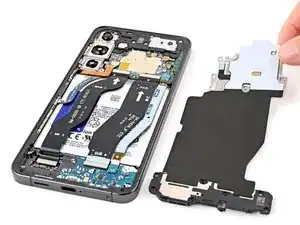
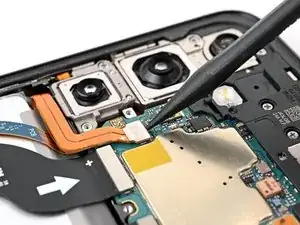
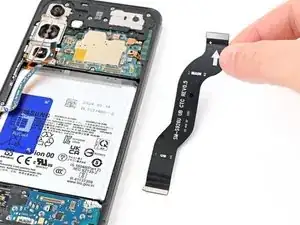
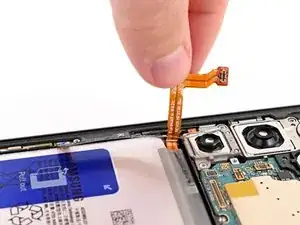
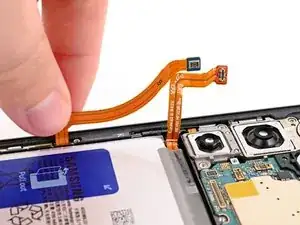
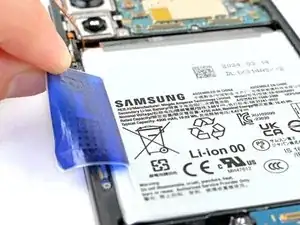
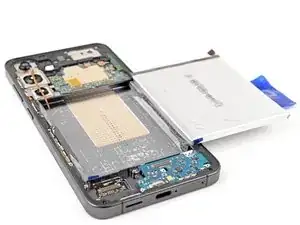
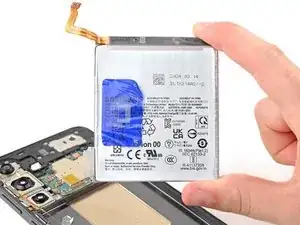
Follow this guide to replace a dead or worn-out battery in your Samsung Galaxy S24+.

This guide is for the battery only. If you're replacing the screen and battery assembly (the frame, screen, and battery as one piece), follow this guide instead.

  1. 6AgRnQEJGkWJopoM
    6AgRnQEJGkWJopoM
    nVbWCsJDfJdEboHs
    • Allow your phone's battery to drain below 25%, as a charged lithium-ion battery is a potential safety hazard. If your battery is swollen, take appropriate precautions.

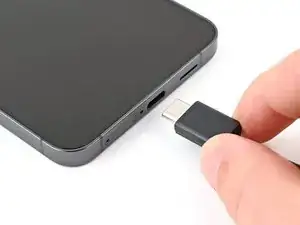
    • Unplug any cables from your phone.

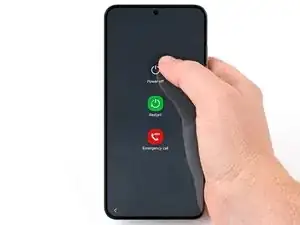
    • Hold the side key and the volume down button, then select "Power off" to turn off your phone.

  2. 5eRL4yBZkj1sYxRK
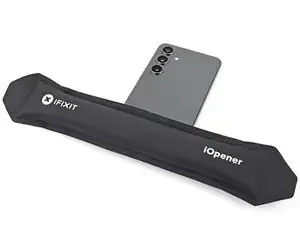
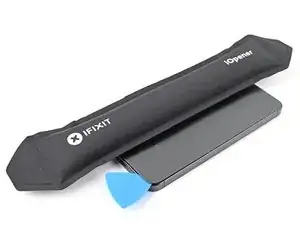
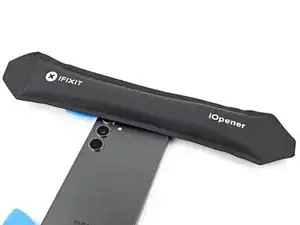
    • Heat an iOpener and apply it to the right edge of the back cover for two minutes.

    • A hair dryer, heat gun, or hot plate may also be used, but be careful not to overheat the phone—the display and internal battery are susceptible to heat damage.

  3. QyYOUCUNB1FtTTGM
    QyYOUCUNB1FtTTGM
    SAgIYSbKUKbJd6Bq
    felvvSjTAp33MUVh
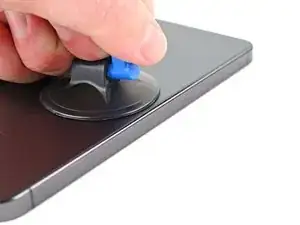
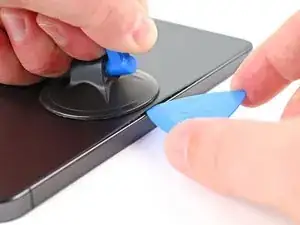
    • Apply a suction handle to the back cover, as close to the center of the right edge as possible.

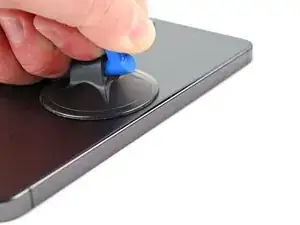
    • Pull up on the suction handle with strong, steady force to create a gap between the cover and the frame.

    • If you have trouble creating a gap, apply more heat to further soften the adhesive. Follow the iOpener instructions to avoid overheating.

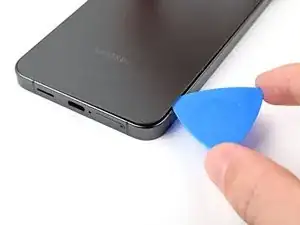
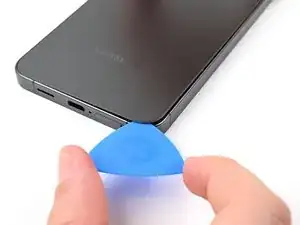
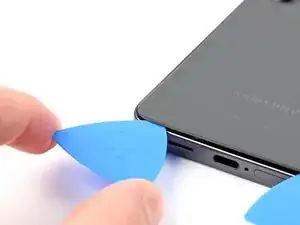
    • Insert an opening pick into the gap.

  4. 6AUshiQEBtFPOQII
    6AUshiQEBtFPOQII
    EaORStQ2VxeDTKrF
    JpI5rhPxSvVqSkXB
    • Slide the pick back and forth along the right edge to separate the adhesive.

    • Leave the pick inserted near the bottom right corner to prevent the adhesive from resealing.

  5. L1ENIMDPABDnABS3
    • Apply a heated iOpener to the bottom edge of the back cover for two minutes.

  6. idITKmwGtZVg3idl
    idITKmwGtZVg3idl
    MjKKulxNM66eE1oB
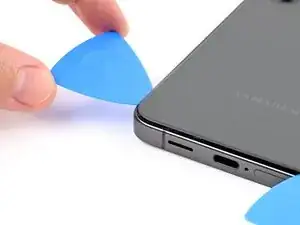
    • Rotate the opening pick around the bottom right corner to separate the adhesive.

  7. lCqiRYW6KDjAEGdf
    lCqiRYW6KDjAEGdf
    ZLR4XAHy4FlrDcfB
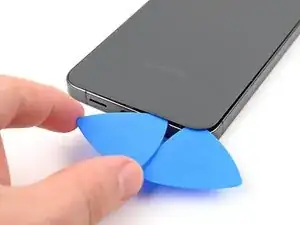
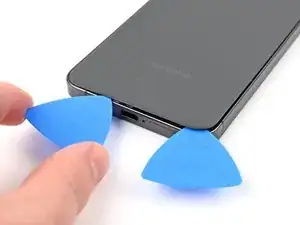
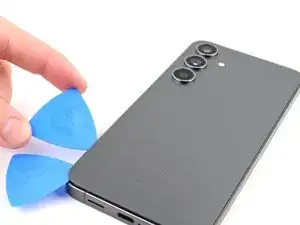
    • Insert a second pick at the bottom right corner.

    • Slide the opening pick to the bottom left corner to separate the adhesive.

    • Leave the pick in the bottom left corner to prevent the adhesive from resealing.

  8. JGgjuiFO6YqkXWyK
    • Apply a heated iOpener to the left edge of the back cover for two minutes.

  9. RrVkJcXggY6Ken61
    RrVkJcXggY6Ken61
    3Hssu3VqCEqogZH1
    • Rotate the opening pick around the bottom left corner to separate the adhesive.

  10. wWnpDobb3VdUbYUV
    wWnpDobb3VdUbYUV
    foZM3pnNOQFxHOXj
    • Insert a third opening pick at the bottom left corner.

    • Slide the pick toward the top left corner to separate the adhesive.

    • Leave the pick near the top left corner to prevent the adhesive from resealing.

  11. dduGuwroO54TGkYt
    • Apply a heated iOpener to the top edge of the back cover for two minutes.

  12. V32G1Pv3fJMAmjdS
    V32G1Pv3fJMAmjdS
    UVYSQA5knGJcuxRS
    • Rotate the opening pick around the top left corner to separate the adhesive.

  13. KDAL6lNUC5SLWKbb
    KDAL6lNUC5SLWKbb
    fQXZcODUF4u6ETNA
    • Insert a fourth opening pick at the top left corner.

    • Slide the pick toward the top right corner to separate the adhesive.

    • Leave the pick near the top right corner to prevent the adhesive from resealing.

  14. B52Q5qAAMJaZFGB5
    B52Q5qAAMJaZFGB5
    eUEcTvHfTDpQYtti
    • There's a square of adhesive around the rear microphone, just above the flash.

    • Line up the tip of an opening pick with the flash.

    • Slide the opening pick under the top of the back cover until you feel it start to snag on the adhesive.

    • Keep sliding the pick toward the bottom of the phone while gently lifting the cover until the cover is free of the adhesive.

  15. KY4YWgdiIEUjakmj
    KY4YWgdiIEUjakmj
    ShJodCQuApCQtGoh
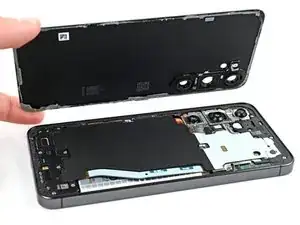
    • Grab and remove the back cover.

    • If the back cover is not lifting easily, use an opening pick to separate any adhesive that may have resealed.

    • During reassembly:

    • This is a good point to power on your phone and test all functions before sealing it up. Be sure to power your phone back down completely before you continue working.

    • Retaining water resistance after the repair will depend on how well you reapply the back cover adhesive, but your device will lose its IP (Ingress Protection) rating.

    • Use tweezers or your fingers to remove all adhesive from the back cover and the phone. Use heat or isopropyl alcohol (90% or greater) and a coffee filter or lint-free cloth if you're having trouble removing the adhesive.

    • If you're using custom-cut adhesives, follow this guide.

  16. RlZnZMDYR1PC2EDt
    RlZnZMDYR1PC2EDt
    2Ce3LtVWh3y1DSxv
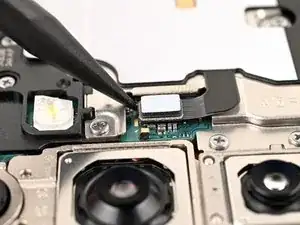
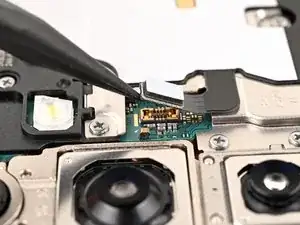
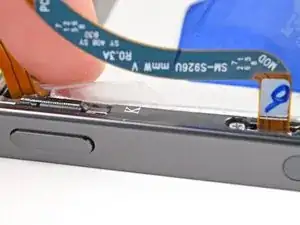
    • Use a spudger to pry up and disconnect the wireless charging coil press connector from the motherboard.

    • There's an arrow printed on the board near each press connector that indicates the recommended prying location.

    • To reconnect press connectors, align the connector carefully over its socket and press down with your fingertip—first on one side, then the other—until it clicks into place. Don't try to force the connector into place. If you're having trouble, reposition it and try again.

  17. QZlIXunjdUTfNKBR
    QZlIXunjdUTfNKBR
    uv6WqTZQDIJRSEQF
    3pSDt3OGWAjvLHSG
    • Use a Phillips screwdriver to remove the thirteen 3.5 mm‑long screws securing the wireless charging coil and the loudspeaker:

    • Six screws securing the wireless charging coil

    • Seven screws securing the loudspeaker

  18. 5wHtM1tGplD1bURG
    5wHtM1tGplD1bURG
    aOxFKMamFCsbVMeN
    • Insert the point of a spudger in the notch at the top left corner of the loudspeaker, which is marked by an arrow.

    • Pry up to unclip the loudspeaker from the frame.

  19. vWKYPkXMLbJGXEbG
    vWKYPkXMLbJGXEbG
    yE6UOoCBsRbEoTYw
    hkmUwdhvkEorATLf
    • Use your fingers to lift the loudspeaker away from the frame.

    • Remove the wireless charging coil and loudspeaker from the frame.

    • During reassembly, press around the edges of the loudspeaker to clip it to the frame before reinserting the screws.

  20. Gql3VUlQEJMNqUbn
    Gql3VUlQEJMNqUbn
    Vb6N2ygAqoZZEjUP
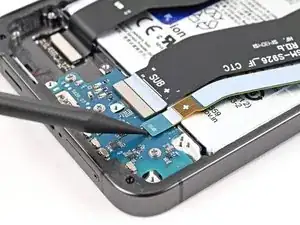
    • Use a spudger to pry up and disconnect the battery press connector.

  21. NAKnW22SDkYGPC4B
    NAKnW22SDkYGPC4B
    tkbvM4RkZrkIE6Zq
    pDR1ICjMY1wrUWdY
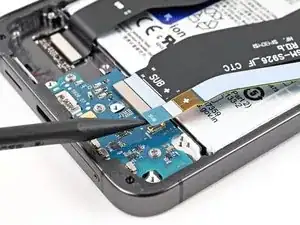
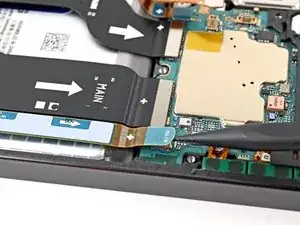
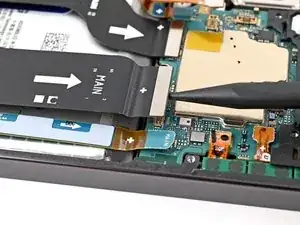
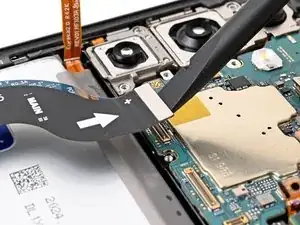
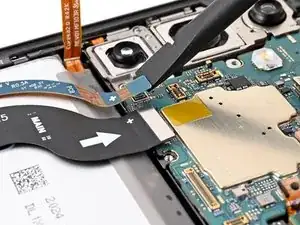
    • Use a spudger to pry up and disconnect both interconnect cable press connectors from the daughterboard.

  22. N2OD2wEE4DD32hfv
    N2OD2wEE4DD32hfv
    l1EUZQE1BWkxCgxJ
    sScyXlJvIVLUsMPt
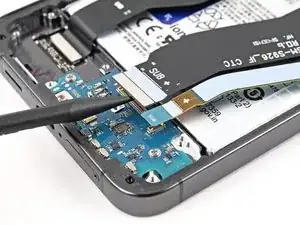
    • Use a spudger to pry up and disconnect both interconnect cable press connectors from the motherboard.

  23. aN4QYj2oUracRjDZ
    aN4QYj2oUracRjDZ
    wQNnIEZCCuq5oXGD
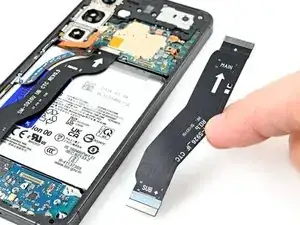
    • Grab and remove the interconnect cables from the phone.

  24. ZQx4v4IQWQwgMCuS
    ZQx4v4IQWQwgMCuS
    vo2CAqXOqpRGXIiH
    bGeR5YkmYPiB1DgT
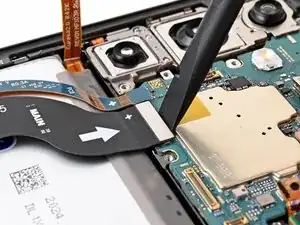
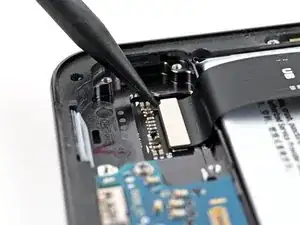
    • Use a spudger to pry up and disconnect the display cable and lower antenna cable press connectors from the motherboard.

  25. 1OeVTUVPeunmbgDk
    1OeVTUVPeunmbgDk
    U324cAdg2SsWrft1
    drEBJjriW4Xfnllh
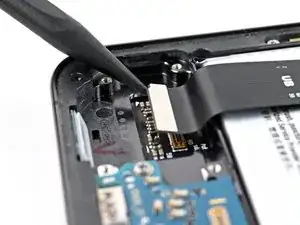
    • Use a spudger to pry up and disconnect the display cable press connector near the bottom edge of the phone.

    • Remove the display cable.

  26. TaoVScmtYYcW1pfL
    TaoVScmtYYcW1pfL
    HZ2fwHZ5fbEARGIZ
    • Push the battery and antenna cables out of the way of the battery.

  27. YEf6yGmEACOOqISU
    YEf6yGmEACOOqISU
    edLYTlvJJMmYWDM1
    • Be very careful not to bend, crease, or puncture the battery during the next few steps. A damaged battery can leak dangerous chemicals and catch fire.

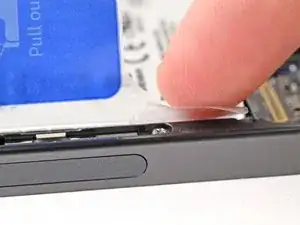
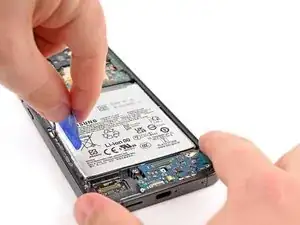
    • Peel the battery pull tab away from the battery, towards the left edge of the phone.

    • If you're having trouble getting the pull tab up, use and opening pick or other thin plastic tool at a low angle to peel up a corner. Never use a metal tool on battery, and never press into the battery.

  28. ySIrbe1OQMcG2CD1
    ySIrbe1OQMcG2CD1
    Vc2QFgjAPNM4yGOq
    • Separate the small, clear tabs above and below the blue part of the pull tab from the rest of the pull tab.

    • Bend these small tabs away from the battery to make sure they stay clear of the battery.

    • If these tabs aren't separated, you won't be able to lift the battery in the next step. You can tape these tabs to the side of the phone or the screen to keep them out of the way.

  29. sgCtyXb5ABDjxITN
    sgCtyXb5ABDjxITN
    mAkvkRSNtS5WqmCU
    mJHB6UubNZaLAOlS
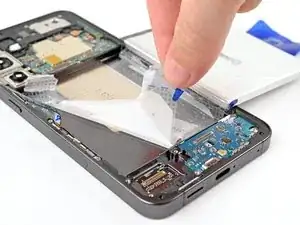
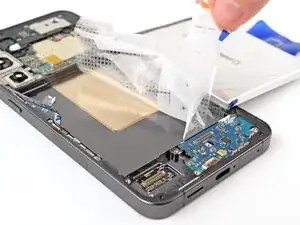
    • This battery is held by a piece of double-sided adhesive film that is doubled under the battery. When you lift the battery by the pull tab, the left edge will come up, but the right edge will not. You'll remove the remaining film and the battery in the next step.

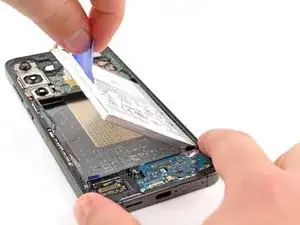
    • With one hand firmly holding down the frame of the phone, use firm, steady force to lift the blue pull tab straight up until the battery separates from the bottom layer of adhesive film.

    • If you're having trouble, apply 1-2 drops of high‑concentration (90% or more) isopropyl alcohol to the left edge of the battery. Raise the left edge of the phone to let the alcohol flow under the battery and wait one minute for it to soften the adhesive.

    • Lay the battery over the right edge of your phone.

    • Be careful not to bend the battery on the right edge of the phone frame. You may need to peel up some of the bottom layer of adhesive film by pulling the battery up before laying it over the edge of the phone.

  30. JkovpE1IFCyS3uO3
    JkovpE1IFCyS3uO3
    CNZPVk2RiBQZ1UnL
    NFWdxWsvUQQHVAVJ
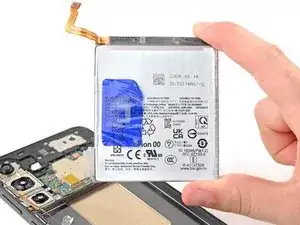
    • Peel up the remaining film from the frame.

    • Remove the battery.

    • If you used isopropyl alcohol, wait ten minutes before installing the new battery to allow the alcohol to completely evaporate.

Conclusion

To reassemble your device, follow these instructions in reverse order.

For optimal performance, calibrate your newly installed battery after reassembling your phone.

Repair didn’t go as planned? Try some basic troubleshooting, or ask our Answers community for help.

Take your e-waste to an R2 or e-Stewards certified recycler.

Spencer Pennington

Member since: 09/09/23

17064 Reputation

One comment

great guide....good work!!
Mind of Mason -