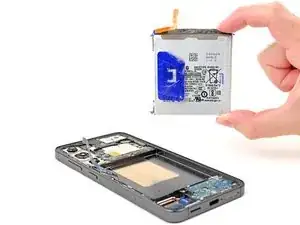
Introduction

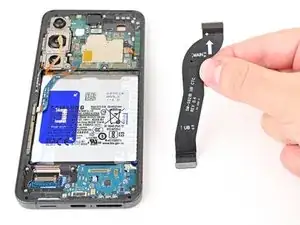
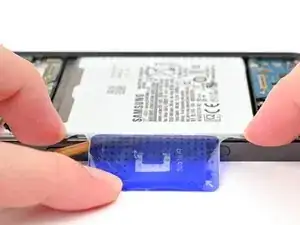
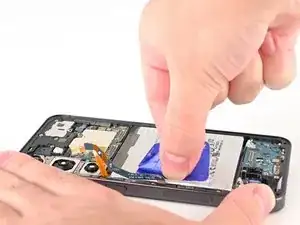
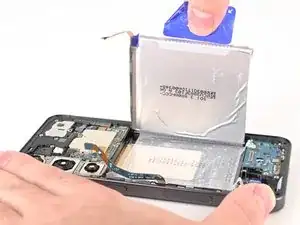
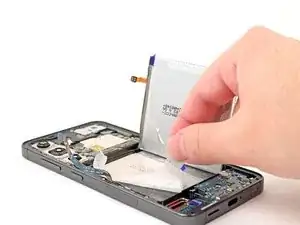
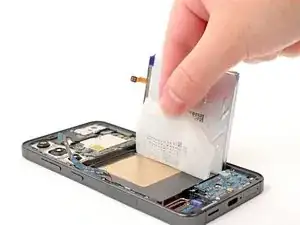
Follow this guide to replace a dead or worn-out battery in your Samsung Galaxy S24.

This guide is for the battery itself. If you're replacing the screen and battery assembly (the frame, screen, and battery as one piece), follow this guide.

Your phone's lithium-ion battery has a limited lifespan. If your phone dies quickly and doesn't hold a charge, it may be time to replace the battery.

Note: Retaining water resistance after the repair will depend on how well you reapply the back cover adhesive, but your device will lose its IP (Ingress Protection) rating.

  1. 2WYFRLZAtexrpHZS
    2WYFRLZAtexrpHZS
    PlgCPdtN6IIPjxnB
    • Let your phone's battery drain below 25% before starting this repair. A charged lithium-ion battery may catch fire if damaged.

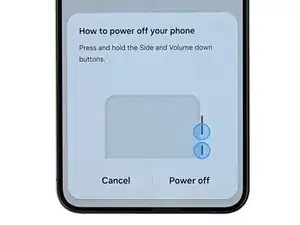
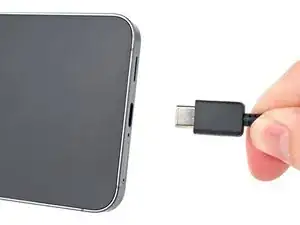
    • Completely power off your phone and unplug all cables.

  2. YZfSedFvvmLCgZHC
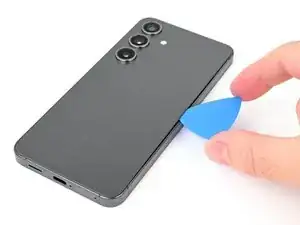
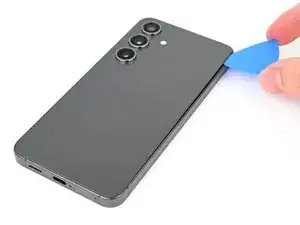
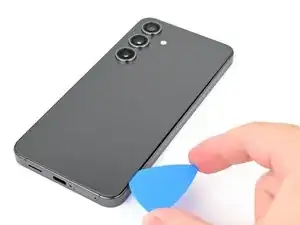
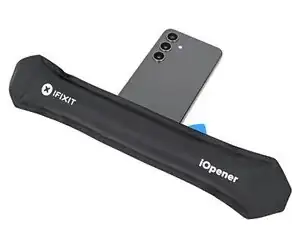
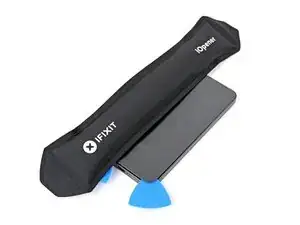
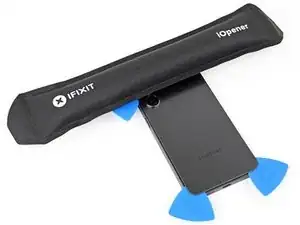
    • Heat an iOpener and apply it to the right edge of the back cover for two minutes.

    • You can use also use a hair dryer or heat gun to heat the right edge of the back glass until it's hot to the touch.

    • Be careful not to heat the phone hotter than this—the battery is susceptible to heat damage.

  3. uJdVJIWdmBWJ1ETw
    uJdVJIWdmBWJ1ETw
    CGe6hbpU6qMbmNNQ
    5VEQOxNS2Zn2YMAy
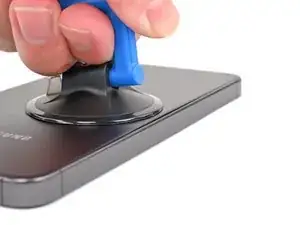
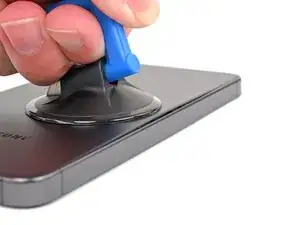
    • Apply a suction handle to the back cover, as close to the center of the right edge as possible.

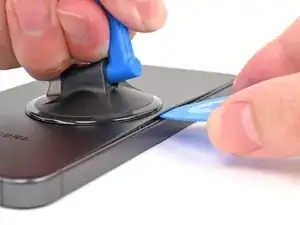
    • Pull up on the suction handle with strong, steady force to create a gap between the cover and the frame.

    • If you have trouble, apply more heat to further soften the adhesive.

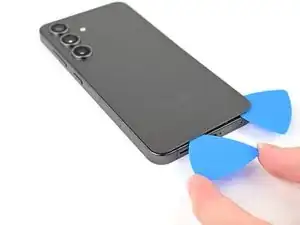
    • Insert an opening pick into the gap.

  4. pRs5mpIUZTJCewJ1
    pRs5mpIUZTJCewJ1
    hUboLat1whxJAZAV
    tUYmG11BEhCu4HFg
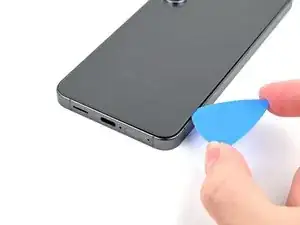
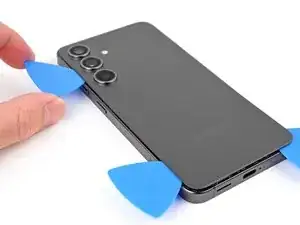
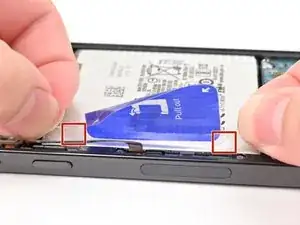
    • Slide your opening pick along the right edge between the back cover and the frame to slice through the adhesive.

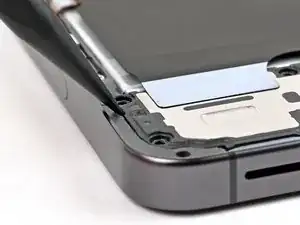
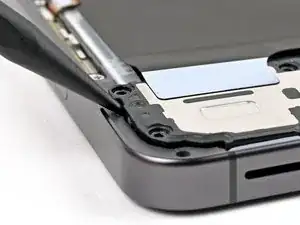
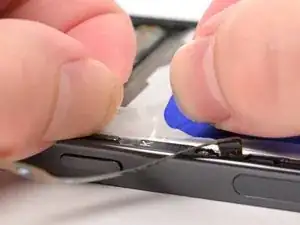
    • Leave your opening pick in the bottom right corner to keep the adhesive from resealing.

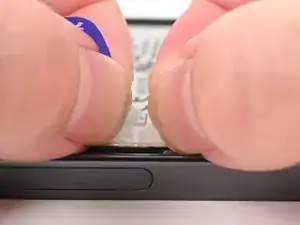
  5. tbwCAdptYiPrDGpf
    • Reheat your iOpener and apply it to the bottom of the back cover for two minutes.

  6. hxcyyAECSGmkCsLr
    hxcyyAECSGmkCsLr
    I1UssjBFMrcfKWrS
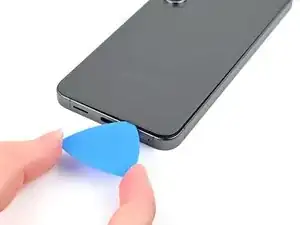
    • Rotate the opening pick around the bottom right corner to separate the adhesive.

  7. TTkgDGNsisLidDfb
    TTkgDGNsisLidDfb
    SpqigJNKFYdQNlhX
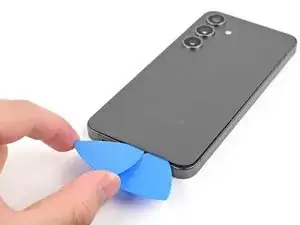
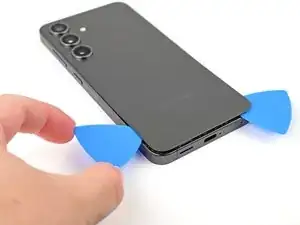
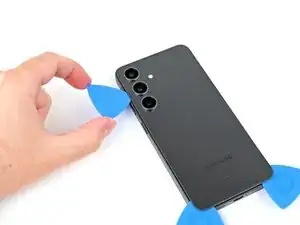
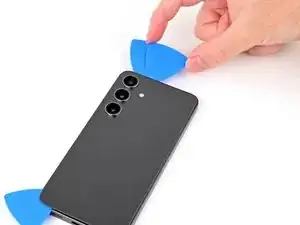
    • Insert a second opening pick to the left of the first one and slide it along the bottom edge to slice through the adhesive.

    • Leave your opening pick in the bottom left edge to prevent the adhesive from resealing.

  8. LsecUYYWwFdRt11u
    • Reheat your iOpener and apply it to the left side of the back cover for two minutes.

  9. MJVHcM21pWf15DJs
    MJVHcM21pWf15DJs
    BvemLgvoKYtkFNXw
    • Rotate the opening pick around the bottom left corner to separate the adhesive.

  10. EegqvTDKZyZXSoKf
    EegqvTDKZyZXSoKf
    ntpjNO4wbG3uZm2M
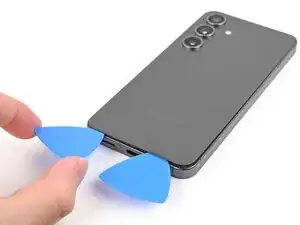
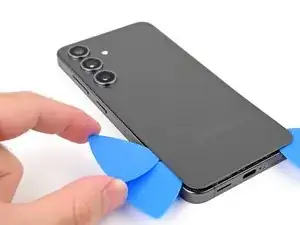
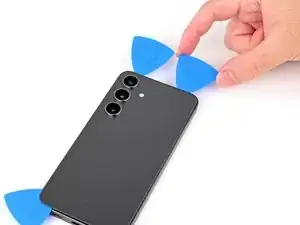
    • Insert a third opening pick above the last one and slide it along the left edge to slice through the adhesive.

    • Only insert your pick up to 4 mm deep to avoid damaging the rear cameras or flash.

    • Leave your opening pick in the top left corner to prevent the adhesive from resealing.

  11. LHkeZLPKAHpKnYTW
    • Reheat your iOpener and apply it to the top of the back cover for two minutes.

  12. 2noM1uAA1lPBa1rM
    2noM1uAA1lPBa1rM
    XDeXPSJljexBWUPY
    • Rotate the opening pick around the top left corner to separate the adhesive.

  13. 2Z2Zwia2L6E1bGqU
    2Z2Zwia2L6E1bGqU
    jviXUHAD6ZjvEpSW
    BQiqObL4CZ3Sp4ZX
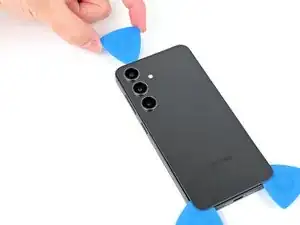
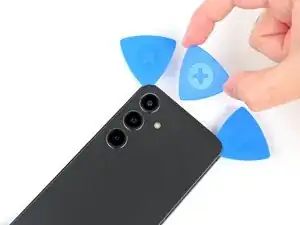
    • Insert a fourth opening pick in the top left corner at the same depth and slide it along the top edge and around the top right corner to slice through the adhesive.

  14. TGQnYFpSJ6UMccDr
    TGQnYFpSJ6UMccDr
    r2cNWtika2xhbT4c
    • Insert a fifth opening pick directly above the camera flash cutout.

    • Insert the opening pick under the top of the back cover until you feel it start to snag on the flash adhesive.

    • Insert the pick deeper into the phone until you feel the adhesive completely separate from the back cover.

    • Don't insert the pick any deeper than its center point to avoid damaging the rear cameras.

  15. 65laVyIbxwipYuH4
    65laVyIbxwipYuH4
    mauo2IblK4RnrDe2
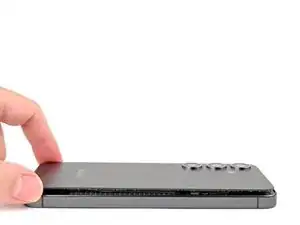
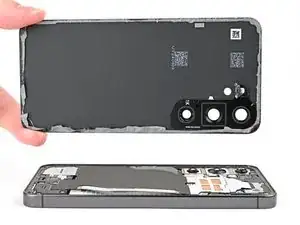
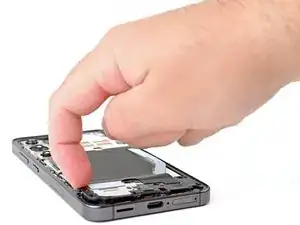
    • Pick up the back cover by its edges and remove it from the phone.

    • If your cover is still sticking to the frame, slide the tip of an opening pick around the perimeter until the cover completely separates.

    • During reassembly:

    • This is a good point to power on your phone and test all functions before sealing it up. Be sure to power your phone back down completely before you continue working.

    • Remove any adhesive chunks with a pair of tweezers or your fingers. Apply heat and isopropyl alcohol (90% or greater) if you're having trouble removing the adhesive.

    • If you're using custom-cut adhesives, follow this guide.

    • If you're using double-sided tape, follow this guide.

  16. RRQWClFwbmGK6Ew2
    RRQWClFwbmGK6Ew2
    6FbAGksKUoBYiNJs
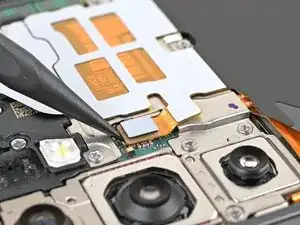
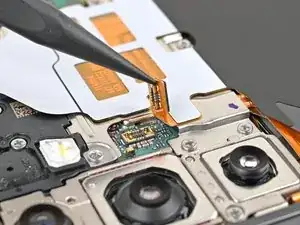
    • Use the point of your spudger to pry up and disconnect the wireless charging coil press connector from the motherboard.

    • To re-attach press connectors, align the connector carefully over its socket and press down with your fingertip—first on one side, then the other—until it clicks into place. Don't try to force the connector into place. If you're having trouble, reposition it and try again.

  17. UClZD4xu6v3twIFp
    UClZD4xu6v3twIFp
    FSIZXl1q5xcg4F5Z
    AMMenGKSm5uCGgff
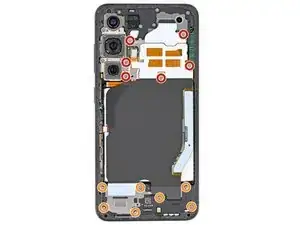
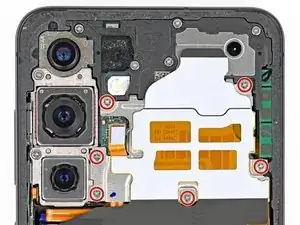
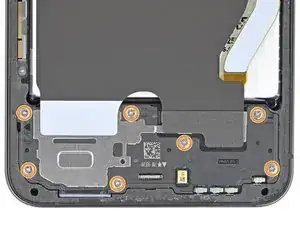
    • Use a Phillips screwdriver to remove the thirteen 3.5 mm‑long screws securing the wireless charging coil and the loudspeaker:

    • Six screws securing the wireless charging coil

    • Seven screws securing the loudspeaker

  18. UZNGjUFHXH3GebbK
    UZNGjUFHXH3GebbK
    1LyqGswYOuXFYUMG
    • Insert the point of a spudger in the notch located on the left edge of the loudspeaker assembly.

    • Pry up the loudspeaker to release its clips.

  19. aE6M62XlIIuMoLhv
    aE6M62XlIIuMoLhv
    CGsLj2CxBTLM3VHT
    OqdEEovSLwiImoSw
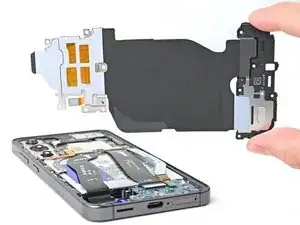
    • Use your fingernail or the flat end of a spudger to pry up the wireless charging coil and loudspeaker assembly away from the frame.

    • Remove the wireless charging coil and loudspeaker from your phone.

    • During reassembly, press around the edges of the loudspeaker to clip it to the frame before reinserting the screws.

  20. TUNtP4vqUVPypOHF
    TUNtP4vqUVPypOHF
    pFMJcodKxXusZ1jT
    • Insert the flat end of a spudger under the battery cable press connector (located on the motherboard) and pry up to disconnect it.

  21. y2r3gxuRmDYOhZ4M
    y2r3gxuRmDYOhZ4M
    OnB1LUTDsrZSdFYP
    tobm1ECrBX5PZxHX
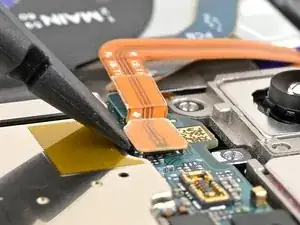
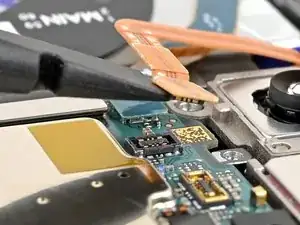
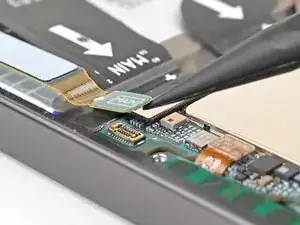
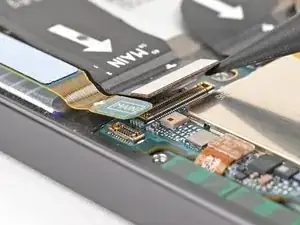
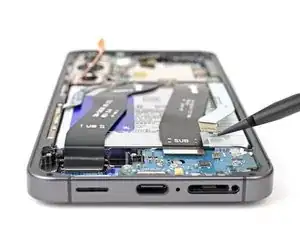
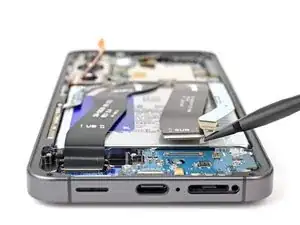
    • Insert the point of a spudger under the secondary interconnect cable press connector labeled "MAIN" (located on the bottom right corner of the motherboard) and pry up to disconnect it.

    • Repeat this process for the primary interconnect cable connector.

  22. gWjchFbLvIFuVOEA
    gWjchFbLvIFuVOEA
    pAsHqWjfHLLEyHFw
    • Repeat this process to disconnect the display and 5G mmWave cable press connectors located on the bottom left edge of the motherboard.

  23. aAAdXZOqFbbKPyb4
    aAAdXZOqFbbKPyb4
    Z2LSj6tbqGpjrxBH
    gMFfPMDcU6sQRGKw
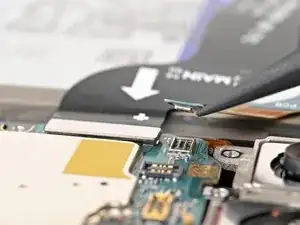
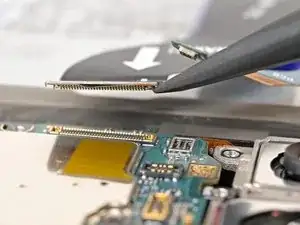
    • Repeat this process to disconnect the two interconnect cable press connectors located on the daughterboard, and the display cable connector to the left of the daughterboard.

  24. GS4aZaXSakAaEvy5
    GS4aZaXSakAaEvy5
    GdNBNL5WHijCWjgx
    EJRkGOFFh4PepWgc
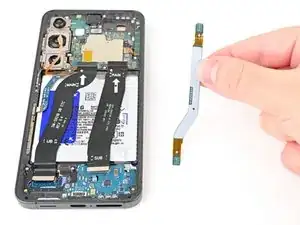
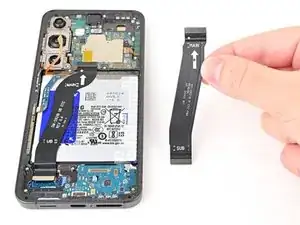
    • Remove the two interconnect cables and the display cable from your phone.

  25. kByhnjnHGvAxyytI
    kByhnjnHGvAxyytI
    UDcOe5XucfBrXZxc
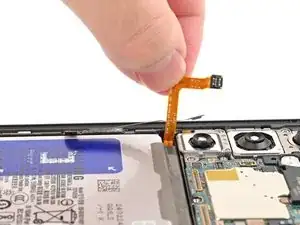
    • Gently bend the 5G mmWave antenna and battery cables so they are pointing straight up.

  26. xixDudPYNDGtkeJ3
    xixDudPYNDGtkeJ3
    O3edujSZkKTTAXyY
    4TnsDtYBQDAw4PIW
    • Be very careful not to bend, crease, or puncture the battery during the next few steps. A damaged battery can leak dangerous chemicals and catch fire.

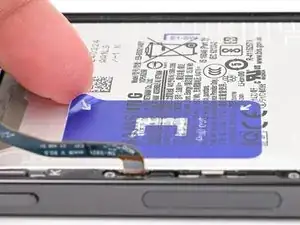
    • Peel the battery pull tab away from the battery, towards the left edge of the phone.

    • If you're having trouble getting the pull tab up, use an opening pick or other thin plastic tool at a low angle to peel up a corner before using your fingers. Never use a metal tool or press into the battery.

  27. j11fEF5QaZhXdIff
    j11fEF5QaZhXdIff
    xw5MHBScd245dhy6
    AYhMwdPVeqMIMvIq
    • Separate the small, clear tabs above and below the blue part of the pull tab from the rest of the pull tab.

    • Your device may have two additional tabs on the bottom edge of the battery. These are designed to tear away during the next step, but if you have trouble removing the battery, you can carefully peel these tabs up as well.

    • Bend these small tabs away from the battery to make sure they stay clear of the battery.

    • If these tabs aren't separated, you won't be able to lift the battery in the next step. You can tape these tabs to the side of the phone or the screen to keep them out of the way.

  28. Bud2TqprJ6GS4kuW
    Bud2TqprJ6GS4kuW
    VqyDQPO1QtjMnWRq
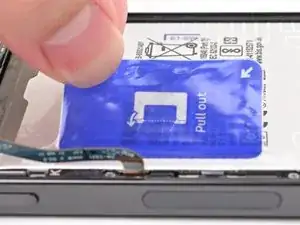
    • When you pull out the battery, its left edge will come up, but the right edge will not. You'll remove the remaining film and the battery in the next step.

    • Firmly hold the phone in place and grip the blue center pull tab.

    • Pull straight up to separate the battery adhesive using firm, steady force.

    • If you're having trouble, apply 1-2 drops of high-concentration (more than 90%) isopropyl alcohol to the left edge of the battery. Lift the left edge of your phone and wait one minute for the alcohol to soften the adhesive.

    • Lift the battery until it is perpendicular to the phone and hold/rest it in the right edge of the frame.

  29. LjmINvK3CM1s4ild
    LjmINvK3CM1s4ild
    IGrkXGfAobQydowM
    wPJKNdYfJYZ4UHmO
    • Use your fingers to peel the adhesive film from the frame.

    • Remove the battery and its film.

    • If you used isopropyl alcohol, wait ten minutes before installing the new battery to allow the alcohol to completely evaporate.

Conclusion

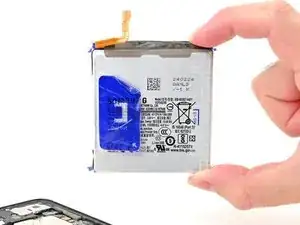
Compare your new replacement part to the original part—be sure to transfer remaining components and remove adhesive backings from the new part before installing.

To reassemble your device, follow these instructions in reverse order.

Calibrate your newly installed battery after completing this guide.

Take your e-waste to an R2 or e-Stewards certified recycler.

Repair didn’t go as planned? Try some basic troubleshooting, or ask our Samsung Galaxy S24 Answers Community for troubleshooting help.
Nick Schultz

Member since: 24/03/24

19090 Reputation

0 comments