
Introduction
-
-
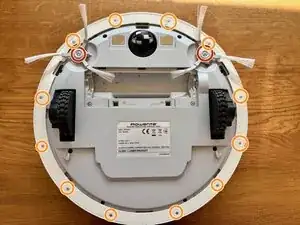
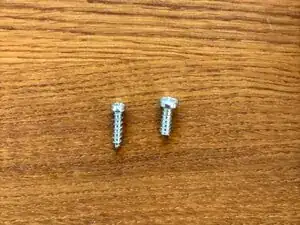
Remove the screws from the 2 spinning brushes and pull the brushes
-
Remove the screws from the outer plastic ring and remove the ring
-
-
-
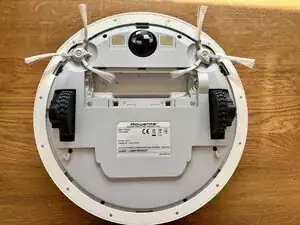
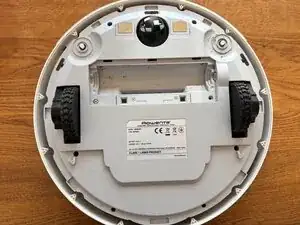
Flip the body around (wheels on bottom)
-
The upper and lower body are still connected by 3 cables.
-
Carefully pull the upper body to open, so you get a view to the inside
-
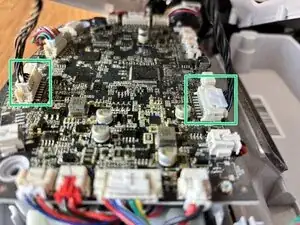
Disconnect 2 connectors (green marked)
-
The 3. cable (blue marked, to LIDAR) doesn't need to be disconnected. Take a moment to learn the cable trace inside the body for the reassembling
-
-
-
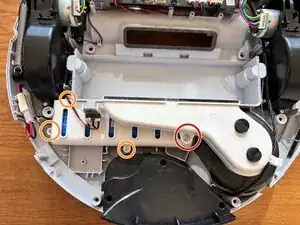
Unscrew the air channel and pull it off (1 screw, red marked)
-
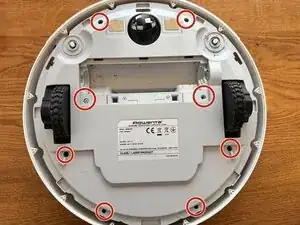
Unscrew the battery cage and take if off (4 screws)
-

Conclusion
To reassemble your device, follow these instructions in reverse order.