Introduction
This guide will walk you through how to replace the power cord for the Ninja Foodi DZ401 Air Fryer. Replacing the power cord may be required if the cord is damaged or if the device has a low power draw after checking the circuit amp draw.
Tools
-
-
Position the air fryer so that the front is facing you and the top is accessible.
-
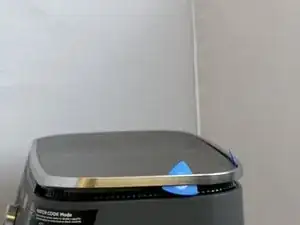
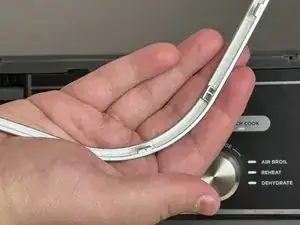
Using opening picks and a metal spudger, pry open the silver ring on the front, right corner.
-
Place an opening pick on the left side of the corner to hold the ring away from the cover.
-
Slide the metal spudger underneath the silver ring. When you find a notch, place the metal spudger next to the notch and pry up to release it.
-
-
-
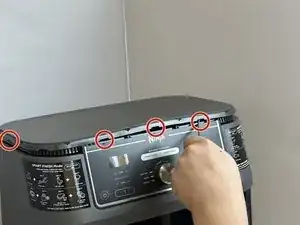
Using a metal spudger, pry open the plastic top cover by inserting into the slots and pushing up on the tabs.
-
-
-
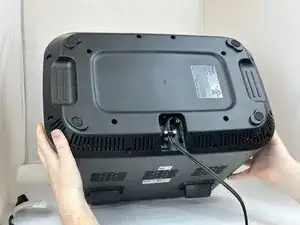
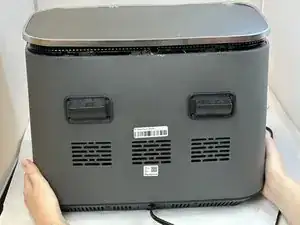
Rotate the air fryer so that the back of the air fryer is facing down and the base is facing you.
-
-
-
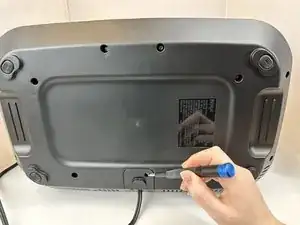
Remove the ten 15 mm screws from the bottom of the air fryer using a Phillips #3 screwdriver.
-
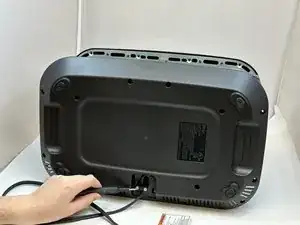
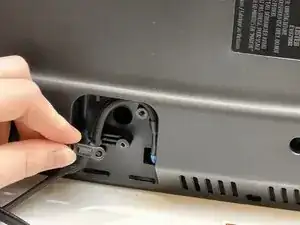
Remove the power cord cover.
-
Remove the two 16.7 mm power cord bracket screws using a Phillips #1 screwdriver.
-
-
-
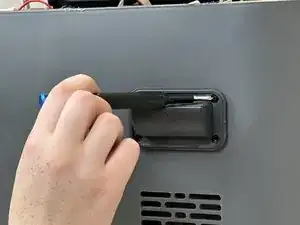
Remove the four 11.1 mm screws from each vent using a Phillips #1 screwdriver.
-
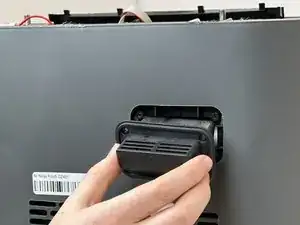
Remove both vents.
-
-
-
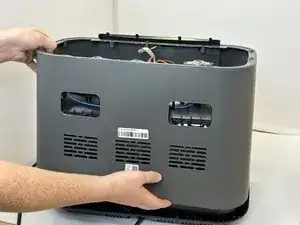
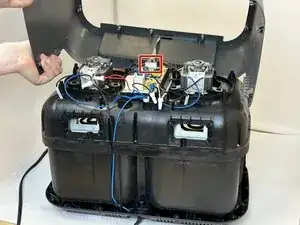
Carefully pull the outer casing up from the back.
-
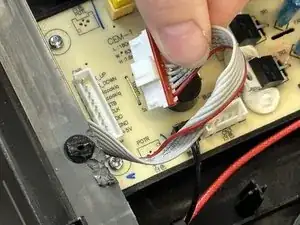
Disconnect the front display cable from the motherboard.
-
Fully remove the outer casing.
-
-
-
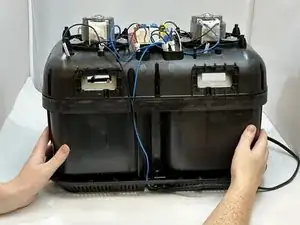
Rotate the unit so that you can access the top and rear.
-
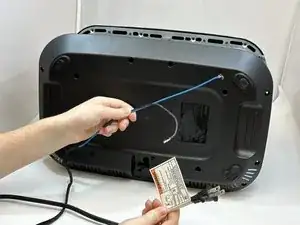
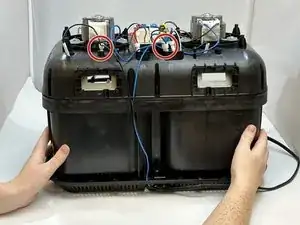
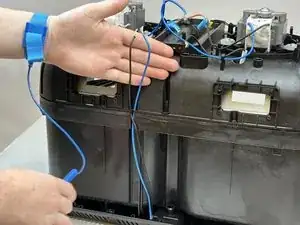
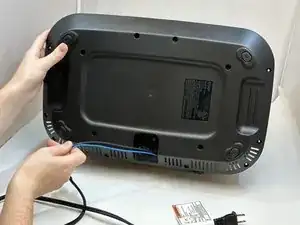
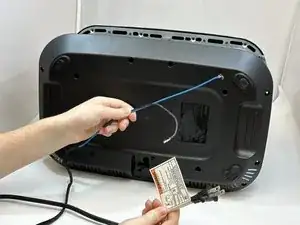
Locate and extract the black and blue wire bundles.
-
-
-
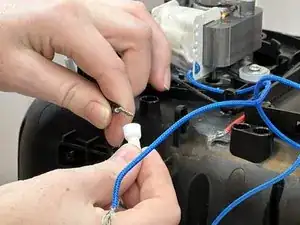
Using pliers, gently uncrimp and remove the plastic wire cap from the blue and black wires.
-
Carefully separate the wires.
-
-
-
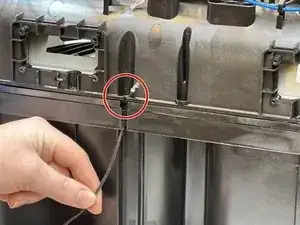
Locate the blue and black wires that connect to the bottom of the unit.
-
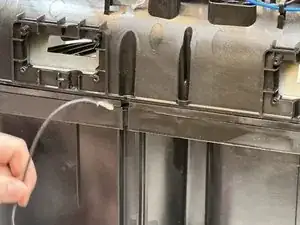
Gently pull both wires out from the back of the unit.
-
To reassemble your device, follow these instructions in reverse order.
One comment
What kind of cord is needed?
Nichele -
