Introduction
On a tablet, an effective front facing camera is necessary because it allows you to capture clear pictures and videos. If your Matsunichi MarquisPad MP977 tablet front facing camera takes blurry or distorted photos or if the lens is cracked, you may need to replace it. This guide provides step-by-step instructions and accompanying images to swap it out. These instructions require no special skills to complete, but the parts are delicate, so handle with care to prevent damage to the tablet. Disconnect and power off your device before beginning. When you've completed the steps, you should be able to take photos and record videos again.
The following link will take you to the Matsunichi MarquisPad MP977's user manual for additional product information: Matsunichi User Manual.
-
-
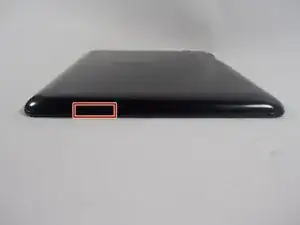
Place the device face down on a flat surface.
-
Insert the wide-tipped plastic opening tool into the top of the left speaker slot.
-
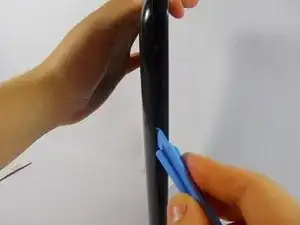
Pry the back plate open and slide the tool in a clockwise direction, moving it along the opening between the device and the back plate until you reach the power button.
-
-
-
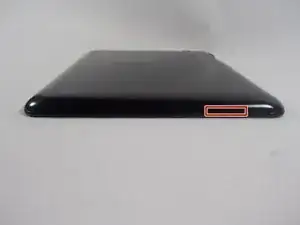
Insert the opening tool into the slot to the right of the speaker on the top edge of the device.
-
Then, pry open the back plate of the device, and slide the tool counter clockwise along the device until you reach the charging port.
-
-
-
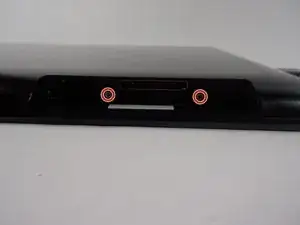
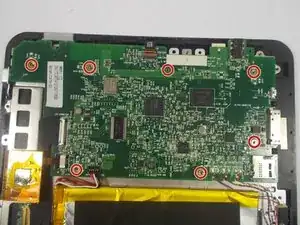
With the same PH #00 Phillips head screwdriver, remove the seven screws holding in the motherboard.
-
-
-
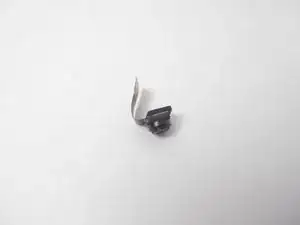
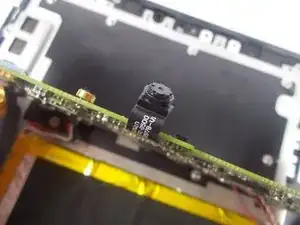
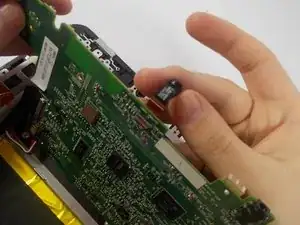
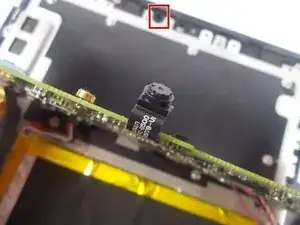
Gently pull the camera optic fiber out of its slot to release the flap. This will allow the flap to open easily.
-


To reassemble your device, follow these instructions in reverse order.