Introduction

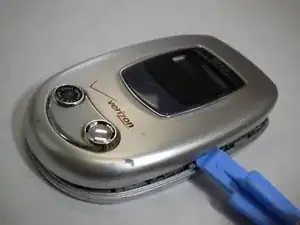
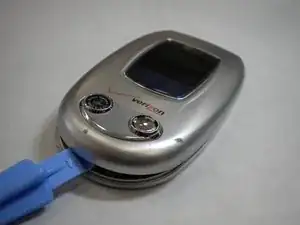
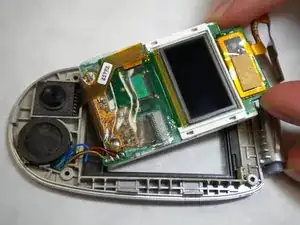
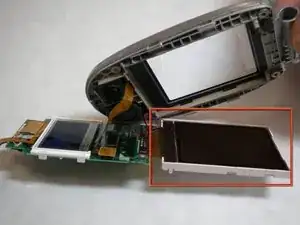
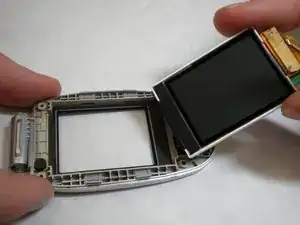
The following guide is to remove or replace the screen of the LG VX6000 cellphone.

  1. Bwf61AlAIBKgTACN
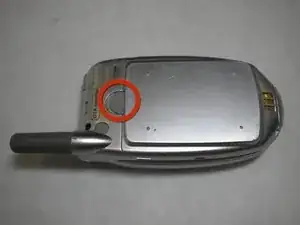
    • Locate the dark gray tab on the back of the phone.

    • Push the tab towards the top of the phone to release the battery.

    Remove battery

    Ryan Brekke -

  2. jc6sZTZMefRjmPiu
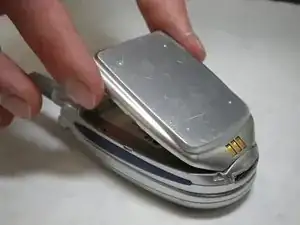
    • Lift and rotate the battery away from the bottom edge.

    • Remove the battery.

  3. E2X45CkIs2NrIB6x
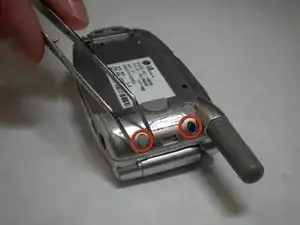
    • Carefully use tweezers to remove the two rubber cushions located at the top of the phone.

    • Only remove the two cushions that are circled!

  4. lJP2wKnYlFpXyGYo
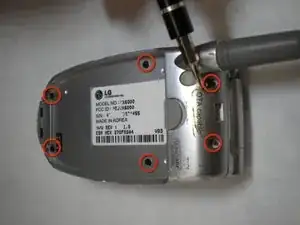
    • Use a Phillips #00 screwdriver to remove the six screws highlighted on the back of the phone.

    • Place the screws on an uncluttered surface or in a small container.

  5. IdqOLaoayUCisgJQ
    • Carefully remove the back of the phone with your fingernails or tweezers.

    • There are red and blue wires connected to the motherboard. Forcing the components apart could damage the wires.

    • The red and blue wires must be plugged in to reassemble.

  6. aoA6d2MHntuFWeYK
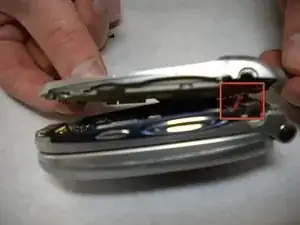
    • Carefully peel away the adhesive tab.

    • The tab should not be completely separated from the phone.

  7. 1VaBhYoThhEbEFdV
    1VaBhYoThhEbEFdV
    YnFvUyERbU4LABV5
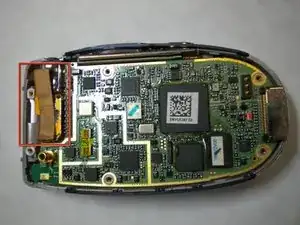
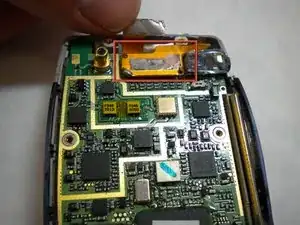
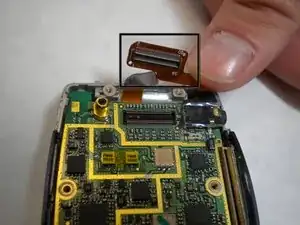
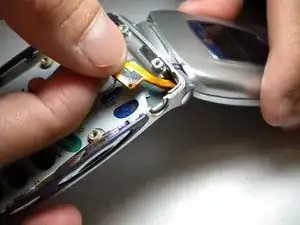
    • Locate the yellow connection towards the top of the phone. This is directly connected to the screen.

    • Carefully pry the connector away from the motherboard to remove it from the phone.

    • Do not pull forcefully

  8. wensKXfUNIRhWDaZ
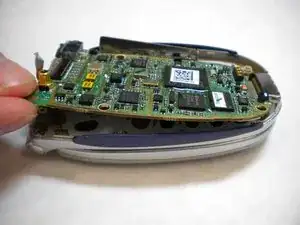
    • Gently lift the corner of the motherboard away from the casing.

  9. cvfKLyadRuoABeIj
    cvfKLyadRuoABeIj
    sRN2LNPg2PhQefi4
    4WKYUgUPV4JQrt4m
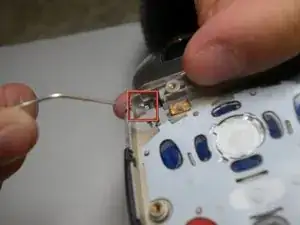
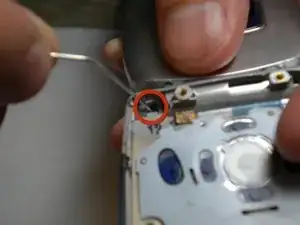
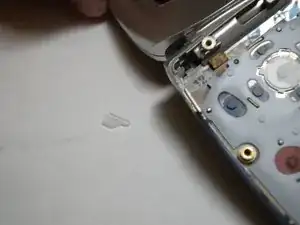
    • Using a paper clip or tweezers, pop out the screen by pressing the plastic tab in the top-left corner of the phone's bottom casing as indicated in the photo.

    • Be careful not to lose the tab that pops out. It is a small and clear piece of plastic.

    • The tab is fragile, handle with care.

  10. tIxgqs4iMCBaUZg2
    tIxgqs4iMCBaUZg2
    V4RPl3xdHZ1thq2R
    svhkKoj2E44obY6d
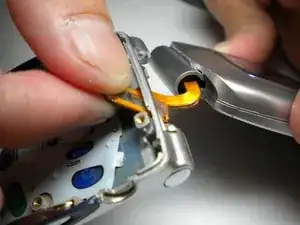
    • As shown in the photos, pull the orange strip through a thin opening at the top of the phone. Once this is done, the top and bottom halves can be separated.

  11. XvNMDLCraAfus5eg
    • Set the bottom half of the phone aside.

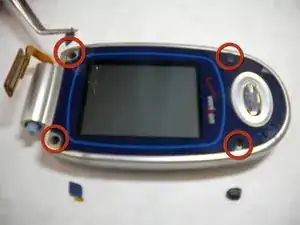
    • Using tweezers, pull off the small rubber cushions located towards the four corners of the screen.

  12. I5LhbXD1KOxYCmpo
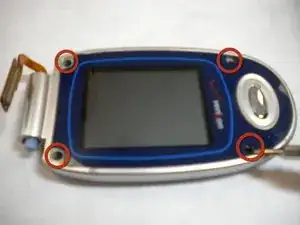
    • With a Phillips tip screwdriver, unscrew the four newly exposed screws.

    • Keep screws from the different steps in different locations so as to not mix them up.

  13. xTaTRTRx6Fl1cvr5
    xTaTRTRx6Fl1cvr5
    xXCZh4ynIelepDIU
    xMZGoTV4Gq3rMVXV
    • Carefully open the casing using the iFixit plastic tool by prying each side a little bit at a time. Rotate and open until all the inside clips pop open and the casing opens up.

  14. qnsWZlUYgmTFWhMo
    qnsWZlUYgmTFWhMo
    doG4yRZ6X1CwgjcG
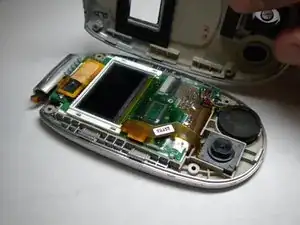
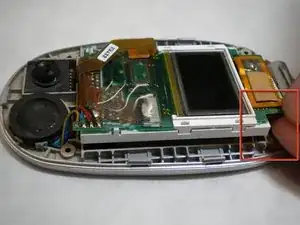
    • After you pry open the casing, you will be left with the screen and circuit board in the top face plate.

    • Gently pull the corner of screen and circuit board up and out of casing to remove screen from the top face plate.

    • Do not try to completely separate the circuit board from the casing. There are still wires connecting the two.

  15. ZbEnfew1YHbJXUAI
    • Rotate the screen and the connected white frame away from the logic board.

    • Carefully peel the adhesive tape that connects the screen and logic board off. The screen can now be removed and replaced with a new screen unit.

Conclusion

To reassemble your device, follow these instructions in reverse order.
Adam Altman

Member since: 15/01/10

1 Reputation

0 comments