Introduction

For this replacement guide, you will be replacing the buttons located on the left side of the headphones. There could be a few different reasons why the buttons might not be working correctly, and replacing them could solve the issue. This guide is relatively easy and should only require a jimmy tool.

  1. XcmT4jiNrGWKIOJE
    • Insert your jimmy into the seam between the cap and the chassis.

  2. ynFiTXfHoOKHHpFb
    ynFiTXfHoOKHHpFb
    51CG2iVO6yMN2myg
    • Pry around the perimeter of the cap until it fully releases.

    • Remove the cap.

  3. M6ijpTt4SyVHhXiy
    • Use a Phillips screwdriver to remove the three screws that secure the motherboard.

  4. S3HlpcZMMdhxE2qg
    S3HlpcZMMdhxE2qg
    TDUHKCTEp2vFYsHc
    • Gently move the motherboard out of the way, with care not to strain the attached cables.

  5. 1dIkMqOa4aSF5KsG
    1dIkMqOa4aSF5KsG
    AaoXqQW1tgcOZkaw
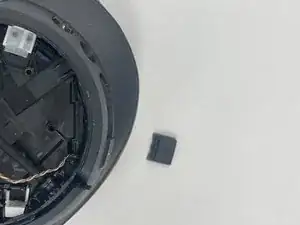
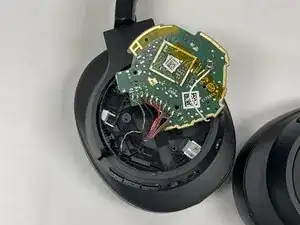
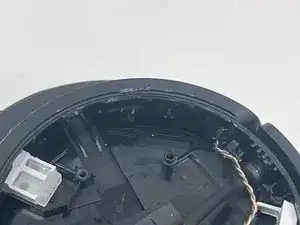
    • Use a jimmy to wiggle the button off the edge, then push the buttons inside of the headphone chassis.

    • Remove the buttons.

Conclusion

To reassemble your device, follow these instructions in reverse order.

Jacob_Manis

Member since: 28/08/24

121 Reputation

0 comments