Introduction
Kintsugi was developed alongside the tea ceremony by Sen no Rikyu (千利休). During the Sengoku Warring States period in Japan (15th and 16th centuries), tea utensils were given to warriors as spoils of war. Broken tea utensils that were repaired with gold or lacquer fillings were considered more valuable than in their original state. The development of the kintsugi technique gave birth to a culture that embraced the inevitability of things breaking.
Sometimes we accidentally break or chip our precious ceramic products. Rather than throwing them away, there is a better way: Kintsugi, a traditional Japanese technique, that can be used to successfully repair such products in a simple way.
Coffee you drink from a mug that you have repaired with your own hands will taste even better!
Please note that kintsugi ceramics are not dishwasher-safe.
-
-
Before starting Kintsugi:
-
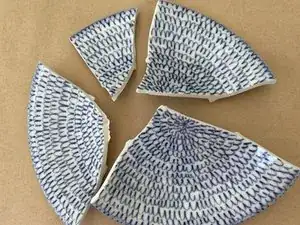
Wash and dry each pieces of broken ceramic.
-
Like a puzzle, you arrange each piece so that they are close to their original form.
-
-
-
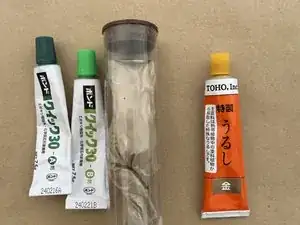
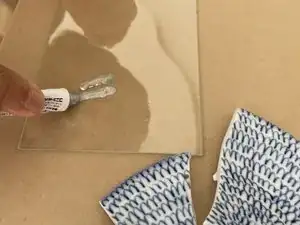
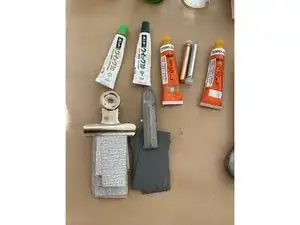
Mix the adhesives (two tubes on the left side: green caps) on the glass tray.
-
We recommend mixing the adhesive on the glass surface to prevent it from drying out. This makes cleaning easier.
-
Apply glue to all the cracking parts. The thinner and drier the glue is, the stronger the adhesive will be.
-
-
-
When the glue has dried to the point where it no longer sticks to your hands, join the pieces together. Press them firmly together so that they don't break.
-
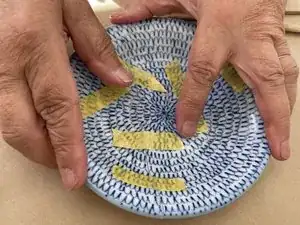
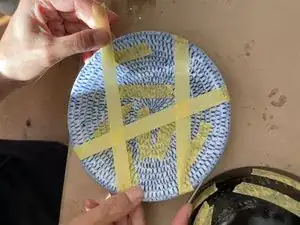
Once everything is in place, use the tape to secure it in place. For each part that tends to spread outwards, such as flat plates or bowls, secure the entire length from one end to the other with a single piece of tape in several places.
-
-
-
If there is a lump of glue, wipe it off with a cotton swab dipped in ethanol alcohol before it gets dry.
-
After you have wiped off the glue from both the front and back, peel off the masking tape.
-
-
-
Apply a mixture of epoxy resin A and B to all areas where the adhesive has hardened.
-
Fill all the gaps with putty. You can sand it down later, but push it in with your fingers so that it is as thin as possible.
-
As with cleaning the glue, after applying the putty, remove the putty that has come out with a cotton swab moistened with ethanol.
-
Allow to dry thoroughly for at least 30 minutes.
-
-
-
When the putty is completely dry, scrape it off with a coarse file. After that, polish with a fine file. The degree of sanding depends on your preference for the finish.
-
If you like the uneven look, just a coarse file will suffice. If you want a smooth and clean look, use a fine-grit file.
-
-
-
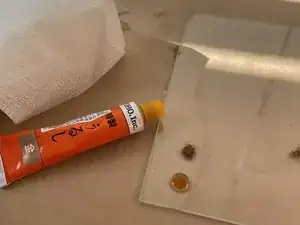
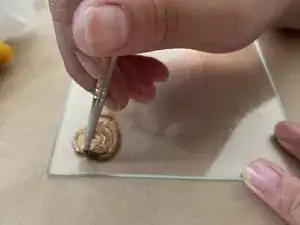
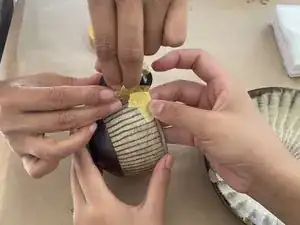
Here is a tube of gold lacquer (Orange Tube) and brass powder (Gold powder case between orange tubes). Prepare the amount shown in the image (the proper amount for the actual chipped area) on the glass sheet. Do not use more brass powder.
-
Mix the lacquer tube with the brass powder until there is no powdery residue. If the mixture dries out or needs to be thinned during the process, you can add a small amount of kerosene to the mixture.
-
-
-
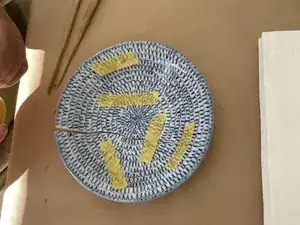
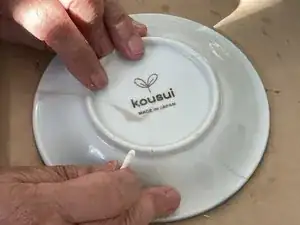
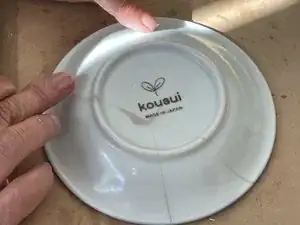
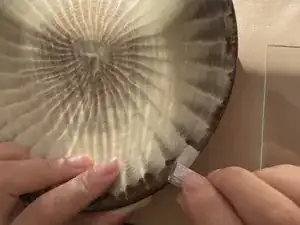
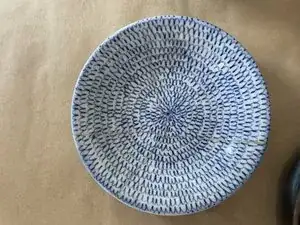
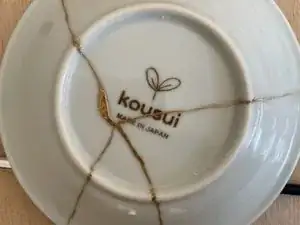
Image 1 &2: Front and back of the plate. The front is a thin layer of epoxy resin. Do not apply a thick coat. When applying the kintsugi, the speed is one millimeter per second.
-
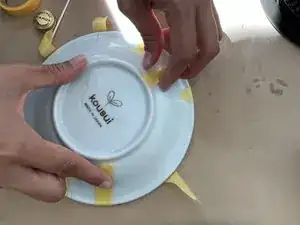
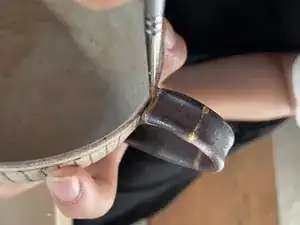
Image 3: A plate with chipped rim. In this case, put epoxy resin in the chipped area, file it after it dries, and apply a thin layer of lacquer over it.
-
-
-
Arrange the broken cup handle correctly, like you were trying to fit a puzzle together. Apply a thin coat of epoxy resin to both sides of each piece.
-
When the epoxy resin is slightly dry, start to attach the broken handle together. It is recommended that you work with someone to do this for more stable work. Each time you do this, use washi (painters) tape to secure it tightly in place.
-
Once you are sure it is completely dry, carefully peel off the washi tape and gently sand it with a file.
-
As described in the previous step, carefully apply mixed lacquer and gold powder over the epoxy resin.
-
Now your broken coffee cup is reborn as a unique, one-of-a-kind entity!
-

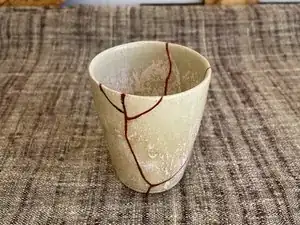

Admire the unique patterns of your repaired piece, each crack telling a story of resilience and beauty.