Introduction
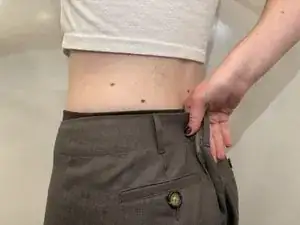
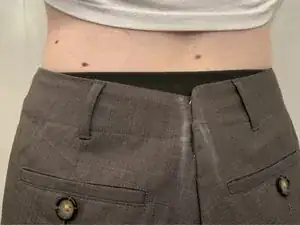
Do your pants no longer fit comfortably at the waistband? This guide will show you how to adjust the waistband using a dart hand-stitching technique, whether it's too loose or tight. This repair is ideal for tailoring pants to a better fit without specialized sewing equipment.
What You Need to Know Before You Begin:
Skill Level: This guide is suitable for beginners with basic hand-sewing skills.
Potential Hazards: Sharp tools such as scissors and needles will be used, so proceed with caution to avoid injury.
Common Reasons for This Repair: Waistbands often require adjustments due to weight changes, clothing stretching over time, or purchasing ill-fitting pants.
Tips for Success:
Mark the dart position carefully to ensure symmetry and alignment.
Practice the basting and regular stitch on a scrap fabric piece if you’re unfamiliar with the techniques.
For delicate or stretchy fabrics, consider using a stabilizer to prevent puckering.
Before you begin, start off by cleaning your workspace, and then gather all the necessary tools and materials. Follow this tutorial to give your pants a whole new look and provide you with a professional look and comfort with a customized fit.
Tools
-
-
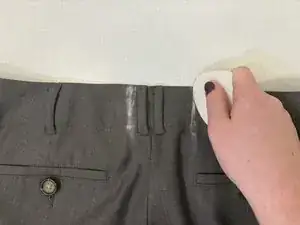
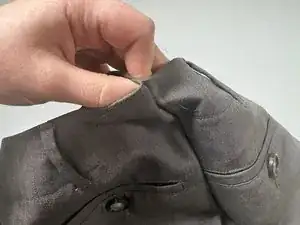
Mark with fabric chalk on either side of the back seam where the two sides of fabric meet when you pinch the waistband to fit well.
-
-
-
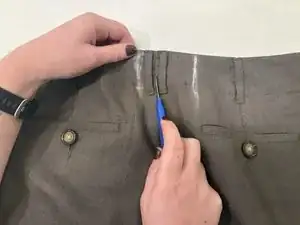
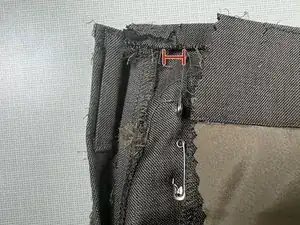
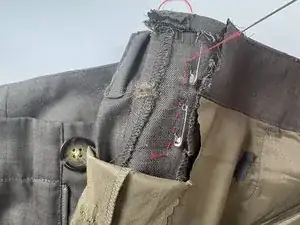
Rip the back seam, waistband, and any belt loops using a seam ripper
-
Keep fingers away from the path of the seam ripper and seam rip away from yourself at all times.
-
-
-
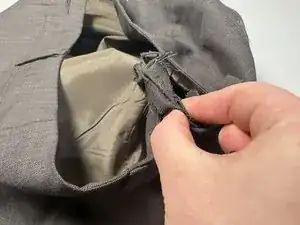
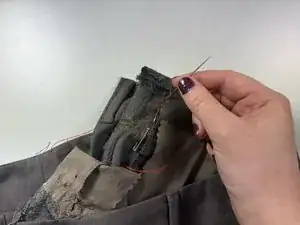
Pin on the inside of where you are holding the marks together with at least 3⁄8” of space on the open side of the seam ripped area.
-
-
-
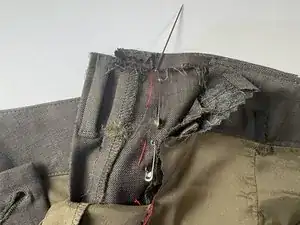
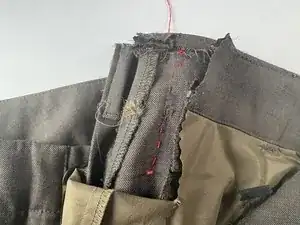
Sew smaller stitches along where your basting stitches were.
-
Take out the pins after you are finished sewing.
-
-
-
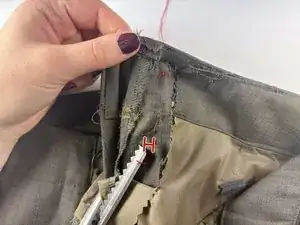
Cut the extra fabric on the inside of the pants while leaving 3/8" of space between the scissors and stitches.
-


If the size needs to be changed at a later time, you can always take out the seams and readjust.