Introduction
-
-
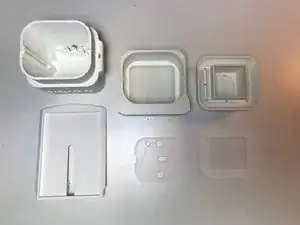
Make sure you have all the necessary parts to assemble the Air Pro.
-
Six plastic parts from left to right, top to bottom are: Case, hat, fan holder, solar panel holder, PCB plate and filter holder.
-
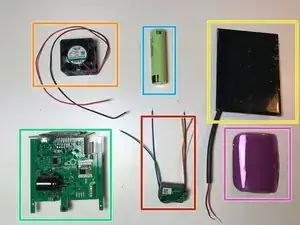
Fan
-
Battery
-
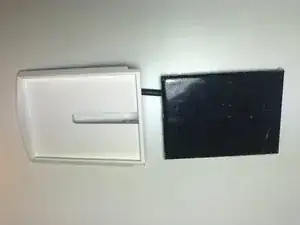
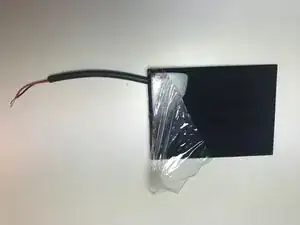
Solar panel
-
PCB
-
CO2 sensor
-
Filter
-
-
-
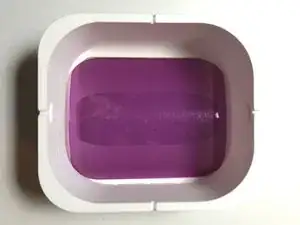
Place the filter with the pink side up into the hat.
-
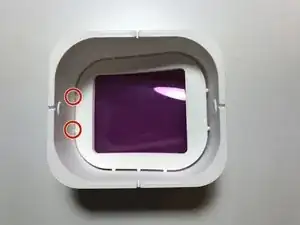
Insert the filter holder in the hat. Start with one of the short sides, and align the pins on the filter holder with the holes in the hat.
-
Now push the filter holder in all the way.
-
-
-
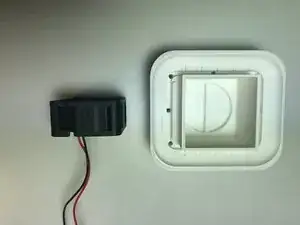
Remove the plastic protective film from the solar panel.
-
Slide the solar panel all the way into the solar panel holder.
-
-
-
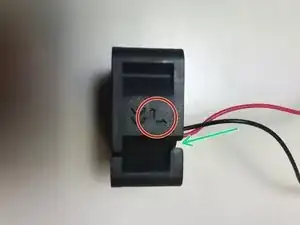
Note the air direction on the fan. The arrow should be pointing up.
-
The wires need to be on the top of the fan and not go through the case on the side.
-
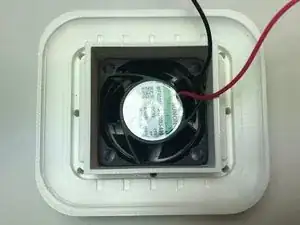
Insert the fan all the way into the fan holder
-
-
-
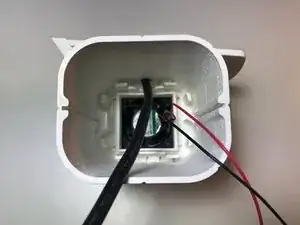
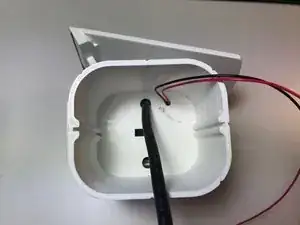
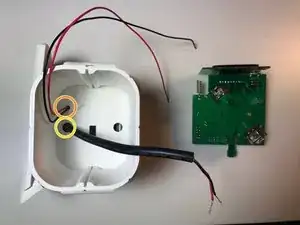
Pull the fan wires through the hole in the bottom of the case.
-
Push the fan holder tightly into the case.
-
-
-
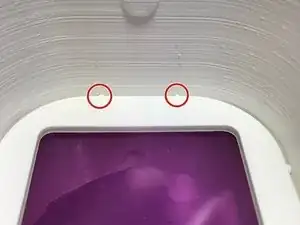
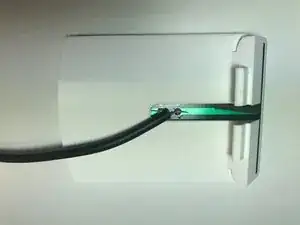
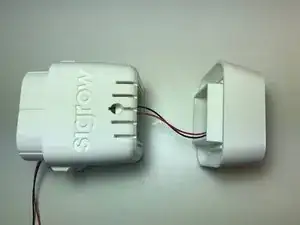
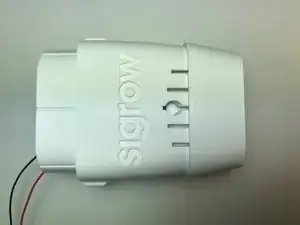
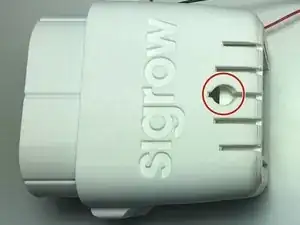
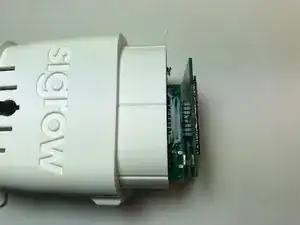
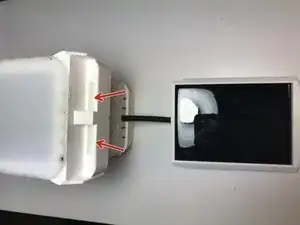
Find the hole on the side of the case just below the "Sigrow" text.
-
Insert the solar panel cable through this hole.
-
-
-
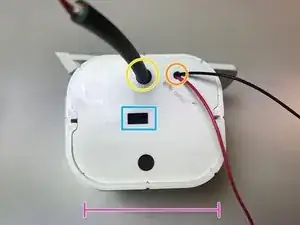
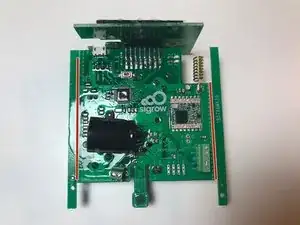
The Sigrow logo should be towards you.
-
The rectangular hole should be to the left of the middle.
-
The hole for the fan wires should be to the top right.
-
Pull the solar panel wires through the PCB plate.
-
Push the PCB plate all the way down into the case.
-
-
-
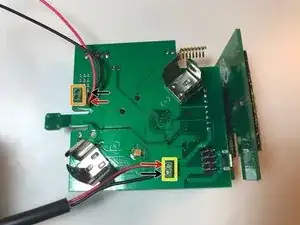
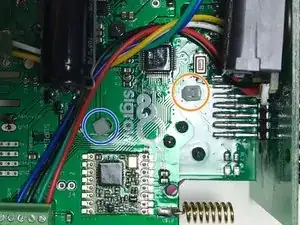
Ensure that the ports of the connectors are open before inserting the wires.
-
Open
-
Closed
-
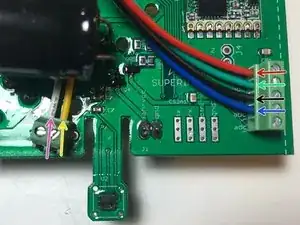
Attach the wires of the CO2 sensor in the same way as in the photo.
-
-
-
Twist the CO2 sensor one time so the wires are not lose.
-
The blue and green wire should be on the outside of the PCB.
-
Use a zip tie to secure the CO2 sensor the the top of the PCB.
-
-
-
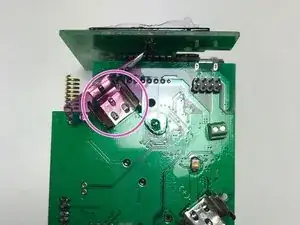
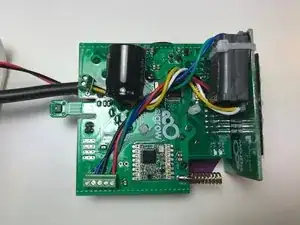
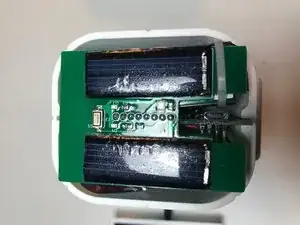
Connect the fan to the watermellon connector.
-
Connect the solar panel to the watermellon connector.
-
-
-
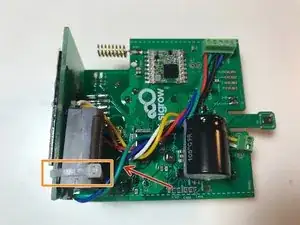
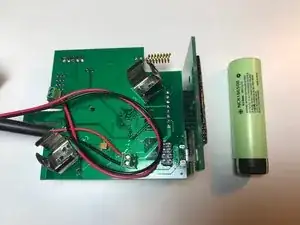
Make a loop of the excess fan wire.
-
Place a small piece of plastic from a filter on the negative side of the battery holder. The negative side is marked with (-) and is on the side towards the solar panels.
-
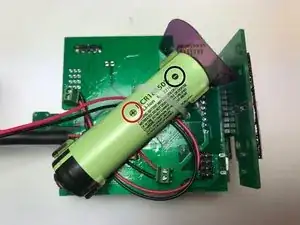
Insert the battery with the correct orientation into the battery holder.
-
-
-
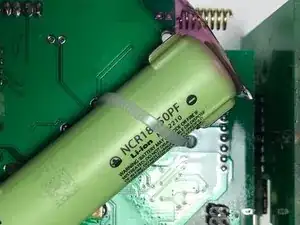
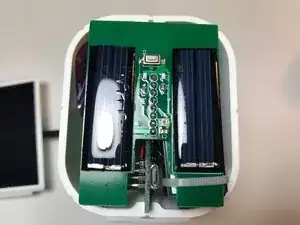
Secure the battery with a zip tie.
-
The zip tie is inserted from the front, just below the "Sigrow" text and goes around the battery and through the PCB again.
-
The zip tie is then sequred with another zip tie.
-
Cut off the remaining parts of the zip tie.
-
-
-
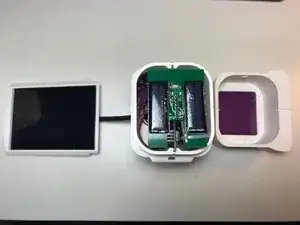
Put the hat on the case.
-
Make sure that the holes in the side of the hat are on the side with the solar panels.
-
Place ten Air Pro+ sensors back in the box as shown in the picture.
-


To reassemble your device, follow these instructions in reverse order.