Introduction

This guide will provide you with instructions on how to disassemble and replace the pedals that allow you to control the Hover-1 All Star. you may need to replace the pedals if they are cracked or broken in some way, or the springs are worn out. You should be able to have your pedals up and working again if this guide is followed correctly.

  1. 3a2fhOsbJjZojQLK
    3a2fhOsbJjZojQLK
    Gwmik1XvSdbRXwwd
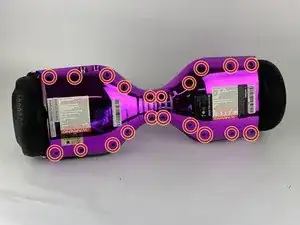
    • Turn the hoverboard upside down and remove the twenty Phillips #1 screws that secure the casing.

  2. 5IetlRZwcB5KZvvY
    5IetlRZwcB5KZvvY
    1vy43rrCjnKAlOqV
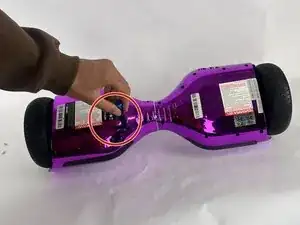
    • After all the screws are removed simply pull off the bottom part of the casing in two pieces (Right and Left).

  3. MxsE2AwtB6kRcDtH
    MxsE2AwtB6kRcDtH
    iEqWiXTED1WCrEUW
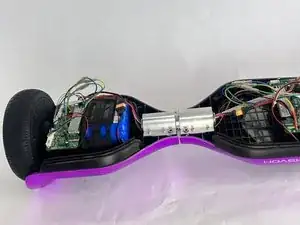
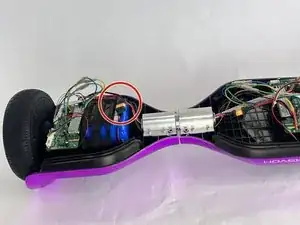
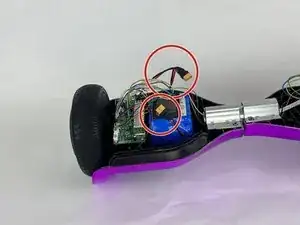
    • Disconnect the battery from the circuit board via the orange connector.

  4. jD2H1U4ODtSONybt
    jD2H1U4ODtSONybt
    Mxd4NVp4bEx4uXlP
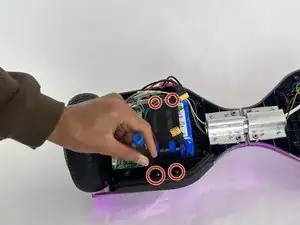
    • Remove the four small screws that secures the plastic battery bracket with a Phillips #1 screwdriver.

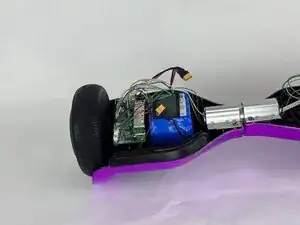
    • Remove the plastic bracket.

    • Once the plastic restraint is removed the battery will have nothing else holding it in but a piece of double sided tape on the bottom.

  5. DeI5s2tqWTrNrbna
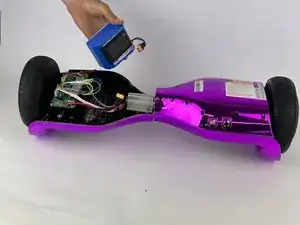
    • Remove the battery.

    • This step will likely require you to use the plastic prying tool because the tape is very strong.

  6. 6Ux1WmrUGNAaerVO
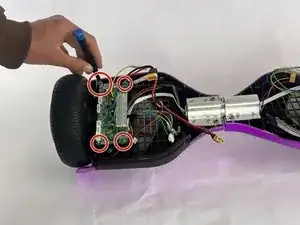
    • Remove the four Phillips #1 screws that secure the mainboard.

  7. WHEgpQ2m3CQmCBOs
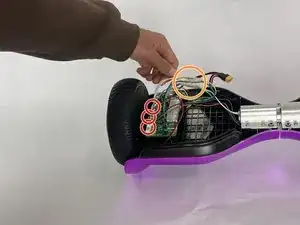
    • Disconnect all cables connected to the mainboard.

    • Also disconnect the three colored cables by pulling them apart.

  8. o1Zv6P2IMHays61R
    o1Zv6P2IMHays61R
    MtuOAM4YUaxFRXdH
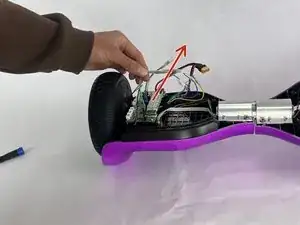
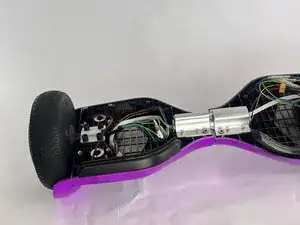
    • Lift the mainboard up and out.

  9. GTPrlPIgM3hq1TSD
    GTPrlPIgM3hq1TSD
    SZUKwHsDWHJMhHeA
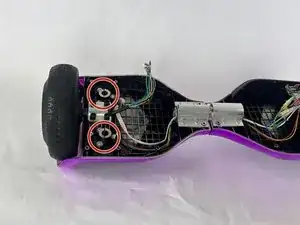
    • Remove the six screws with a Phillips #1 screwdriver.

  10. YcA2smb1AsyfvnUO
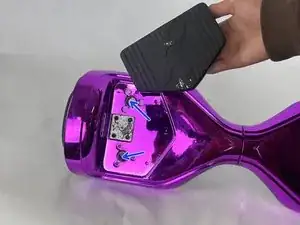
    • Flip over the hoverboard and remove the rubber pedal.

    • There will be 2 small springs located here (blue arrows) that will come out with the pedal.

Conclusion

To reassemble your device, follow the above steps in reverse order.
Take your e-waste to an R2 or e-Stewards certified recycler.
Repair didn’t go as planned? Try some basic troubleshooting or ask our Answers community for help.
Nathan Meyer

Member since: 28/10/24

629 Reputation

0 comments