Introduction
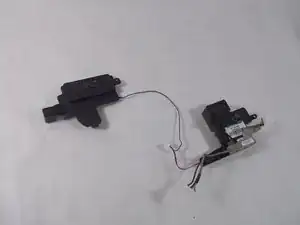
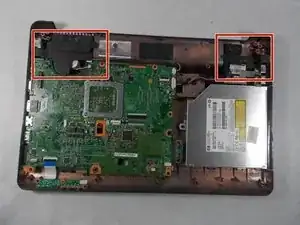
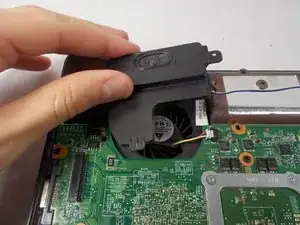
If your HP Pavilion G60-247CL's speaker is malfunctioning, it may be time to replace your speaker. This guide will show you how. Proceed with caution when taking apart the laptop and when removing wires, which is required to complete this task. Specifications are not needed for this guide. Turn off your device before you start.
-
-
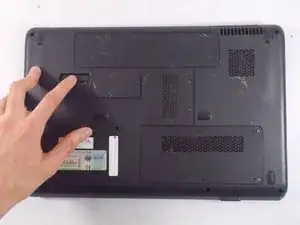
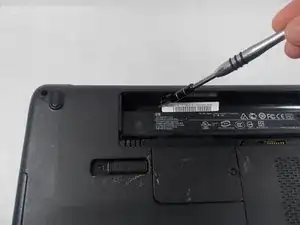
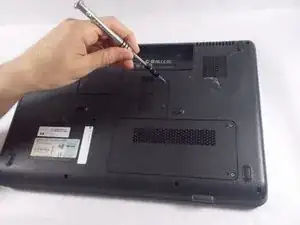
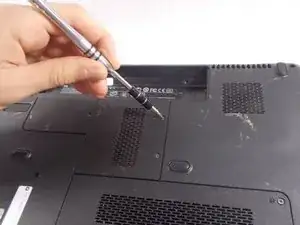
Press down and to the right on the battery lock slide.
-
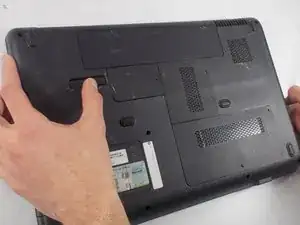
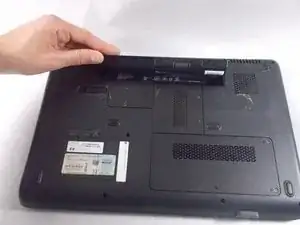
Once slid over to the right the battery will pop up and out.
-
-
-
Turn the computer around to the front side.
-
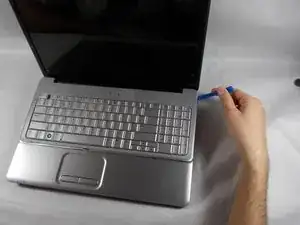
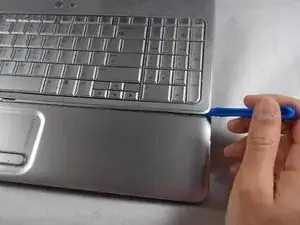
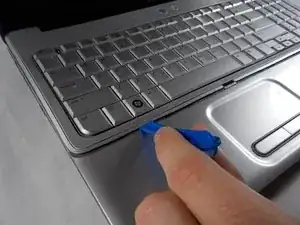
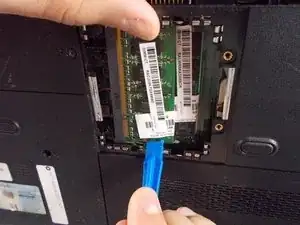
Using an opening tool, prop open the keyboard casing.
-
-
-
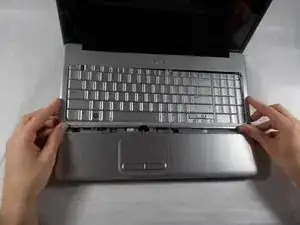
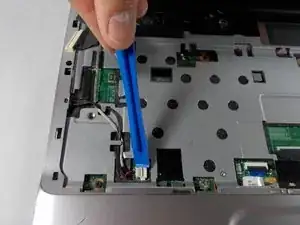
Carefully lift up the keyboard.
-
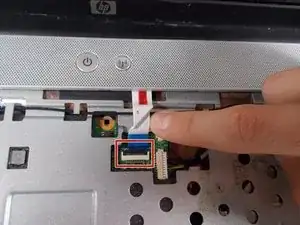
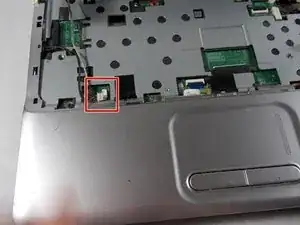
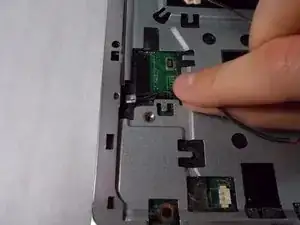
Gently pull up the connecting wire clip (located in the middle) to completely detach the keyboard.
-
-
-
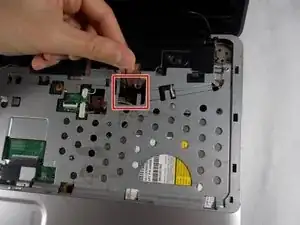
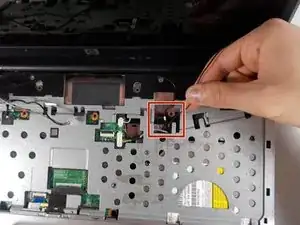
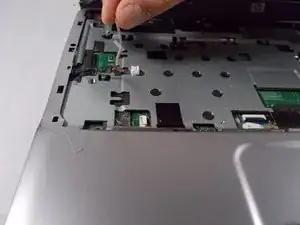
At the top right of the laptop there will be another wire clip holding the keyboard casing.
-
Carefully pull out the wire clip to fully detach the covering.
-
-
-
At the top left of the computer remove the black clip using the opening tool.
-
Push the opening tool to the right to pop out the clip.
-
-
-
Locate at the bottom left of the computer a white clip.
-
Using an opening tool, prop out the white clip.
-
-
-
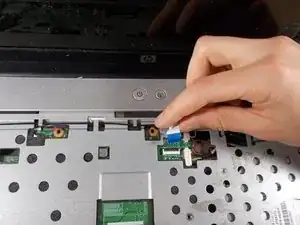
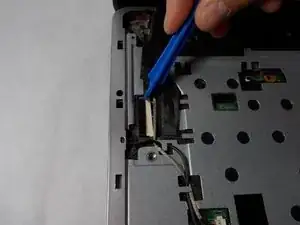
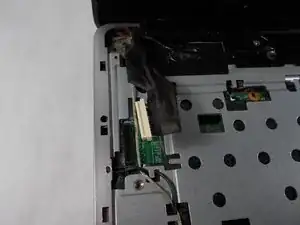
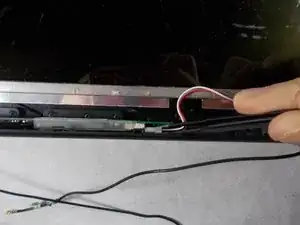
On the left side of the computer locate the black wire with the clear clip.
-
Gently pull the wire to the right to detach it.
-
-
-
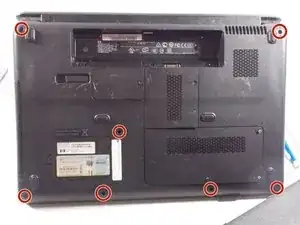
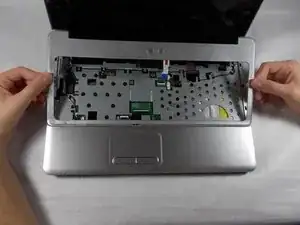
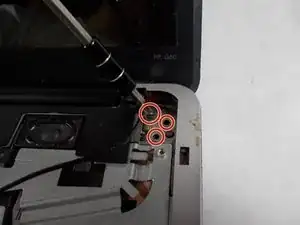
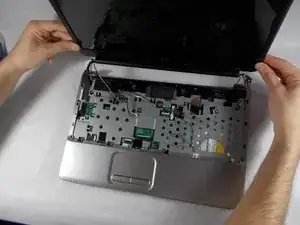
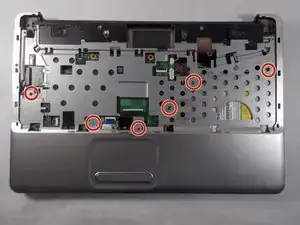
At the top corners of the computer, unscrew the three Phillips #0 screws.
-
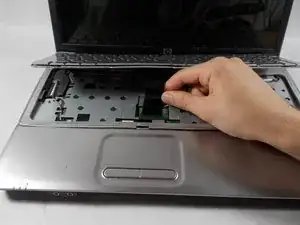
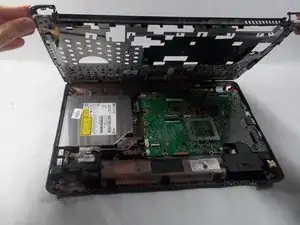
Lift up the top half of the computer carefully.
-
-
-
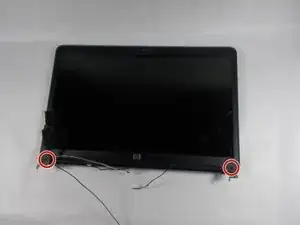
Locate the two screws at the bottom corners of the screen.
-
Using the tweezers remove the rubber black covering over the screw.
-
Remove the two Phillips #0 screws.
-
-
-
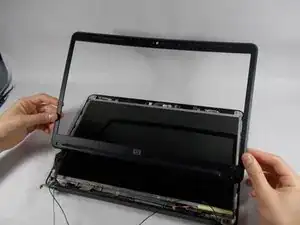
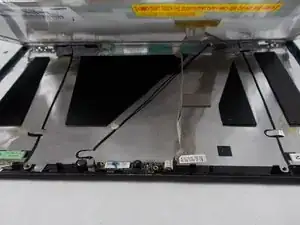
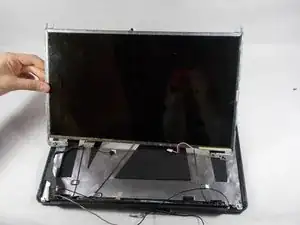
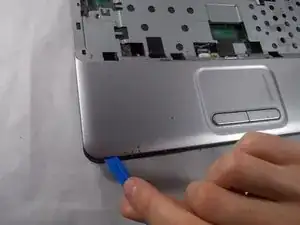
Using the opening tool, prop off the screen covering.
-
Remove the covering to expose the screen completely.
-
-
-
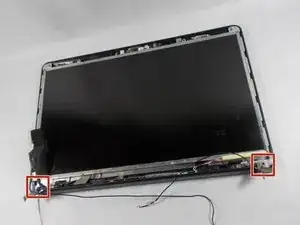
Remove the bottom two screen bearings.
-
Using a Phillips 1 screwdriver, remove the two screws on each side.
-
-
-
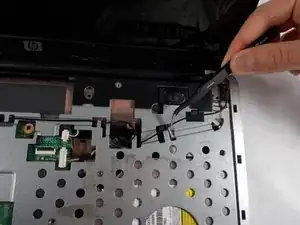
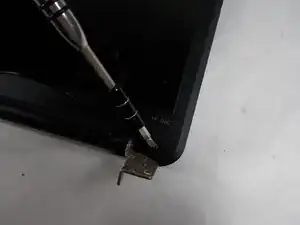
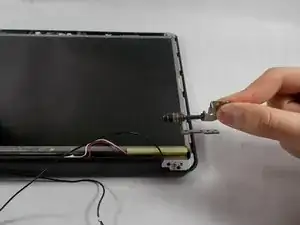
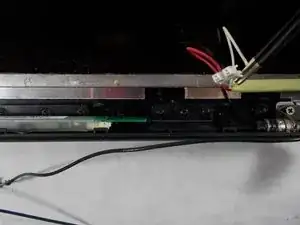
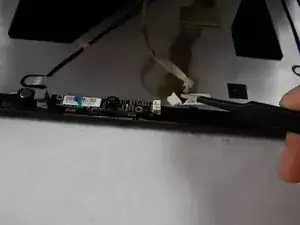
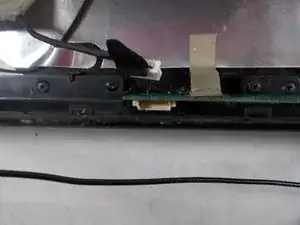
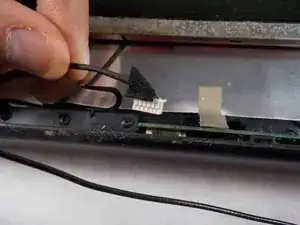
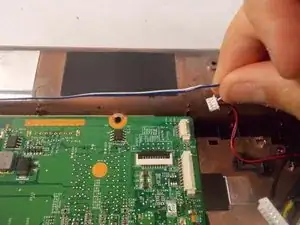
While the screen is still propped open, remove the black wire from the bottom middle of the screen by pulling gently.
-
-
-
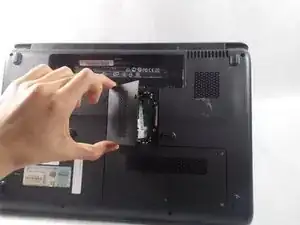
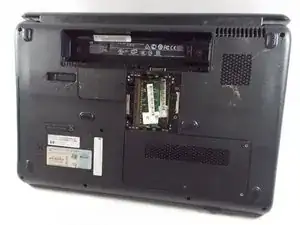
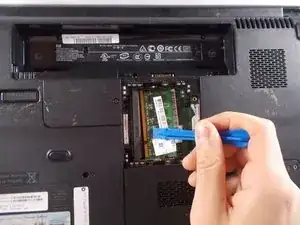
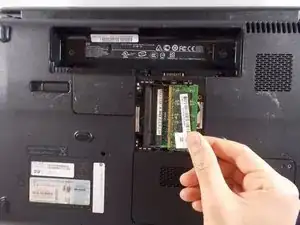
Remove the battery and RAM.
-
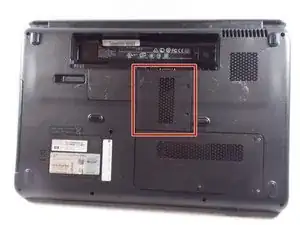
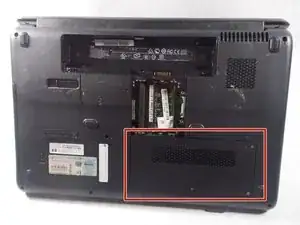
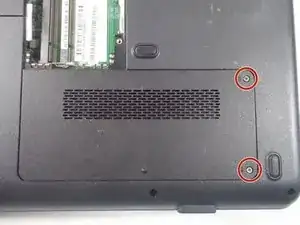
Locate the hard drive access panel.
-
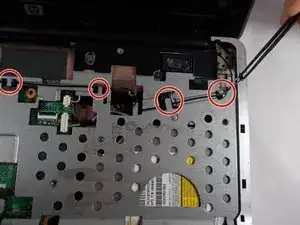
Remove the two 1.2mm Phillips #1 screws on the hard drive access panel.
-
-
-
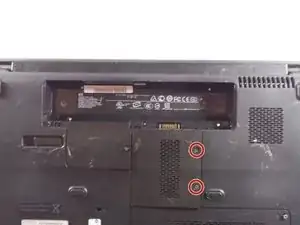
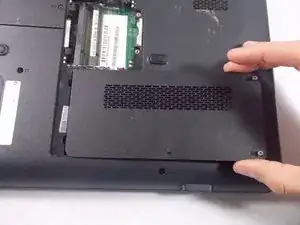
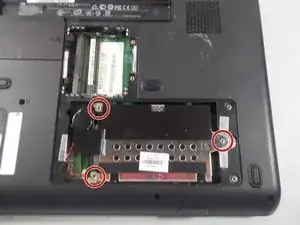
Identify the 3 screws holding the hard drive's cover in place.
-
Use a Phillips #0 screwdriver to remove the 3 screws and reveal the hard drive.
-
-
-
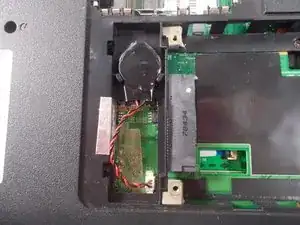
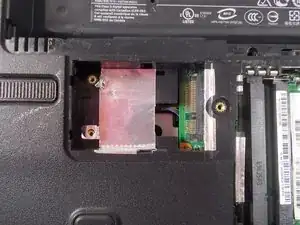
Locate the storage battery, next to the hard drive.
-
Gently pop out the storage battery with your fingers.
-
-
-
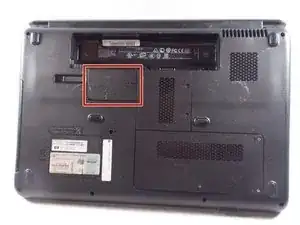
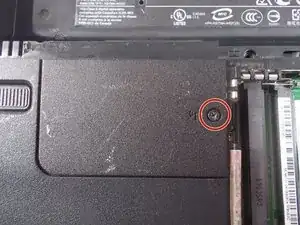
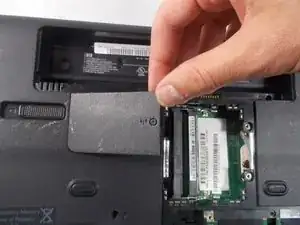
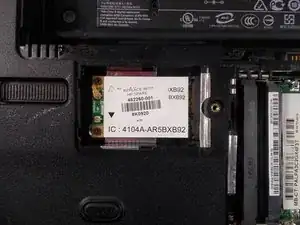
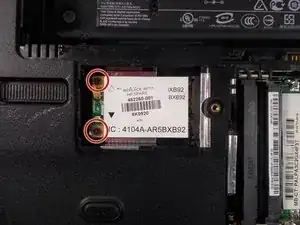
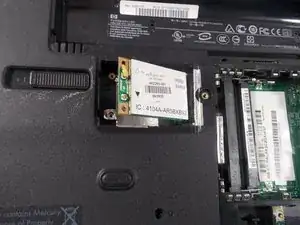
Locate the Wi-Fi card cover panel, to the left of the RAM.
-
Use a Phillips #1 screwdriver to remove the screw from the Wi-Fi card cover panel.
-
-
-
Remove two 1.2 mm Phillips #01 screws.
-
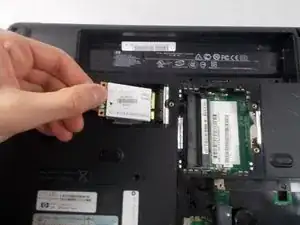
When the screws are removed, the Wi-Fi card will pop up.
-


To reassemble your device, follow these instructions in reverse order.