Introduction
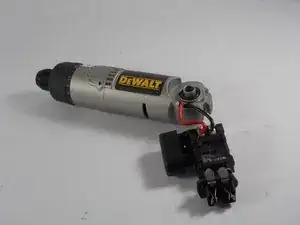
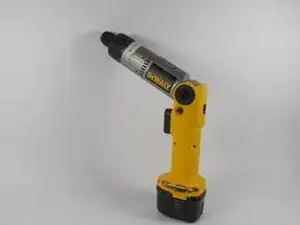
The DeWalt DW920 Motor Replacement is a simple and effective way to replace your damaged motor in the DeWalt DW920, which is a power tool used as a drill. This repair may be needed after years of a motor being used, and may be worn out or damaged. Replacing the motor will not only make it feel like a brand new device, it will give you years of use with a new motor. Special skills are not required for this and instructions to build are in the steps section.
-
-
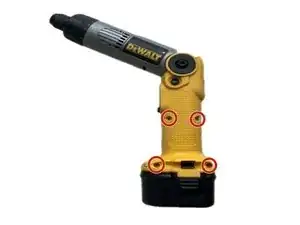
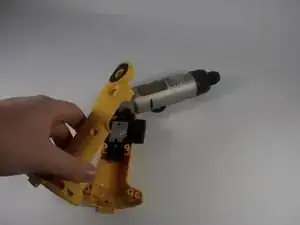
Remove the outer housing to reveal the screws that are used to connect the outer covering of the drill.
-
Use a Phillips #2 screwdriver to remove all the screws that join the two parts of the casing.
-
Take the two halves of the housing and carefully pry them apart.
-
-
-
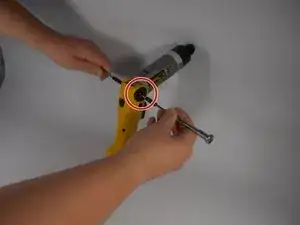
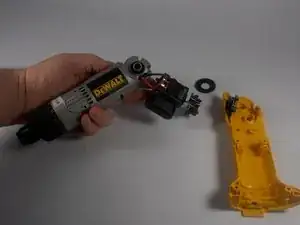
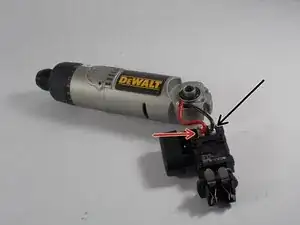
Find and replace the old trigger. The trigger assembly should be found inside the drill.
-
The trigger is the component affixed to the motor and the wires. Loosen the wiring of the trigger carefully so that you can separate the connections of the terminals.
-
-
-
Install the new trigger. Place the new trigger in the position within the housing where the old trigger originated from.
-
Solder the wires together by placing the terminal in the connector.
-
Make sure the trigger is locked tightly in its position.
-
-
-
To reassemble the drill align the two halves of the housing back in their original positions, making sure that the internal parts, and in particular the trigger, are correctly positioned.
-
Put the screws back into their respective holes and fasten them with the Phillips #2 screwdriver.
-
-
-
Test the trigger either by connecting the battery again or plugging the drill back in.
-
Pull the trigger to make the drill glide and to engage the rig. If it will not operate correctly, retract and examine its wiring and the position of the trigger.
-
-
-
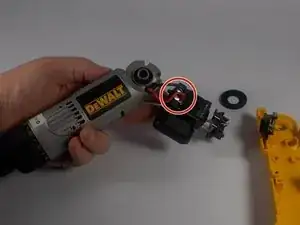
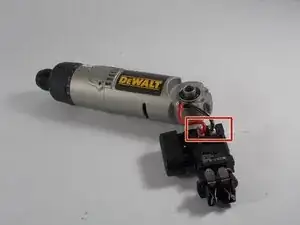
Locate where the motor assembly is attached to the trigger mechanism and carefully detach the wires at their solder points.
-
Mark where the two cables was connected using a masking tape or similar.
-
-
-
Solder the new motor assembly wires to the trigger mechanism in the same fashion that the old motor was.
-
Remember to check the markers from the step before and solder the cables on the right place.
-

- Follow the case replacement guide for how to replace the case on the drill.
- The trigger replacement guide is located above.
- To reassemble the device, follow the instructions in reverse.