Introduction

The Casio CZ-1000 powers on with the flip of a switch. If you find that your Casio CZ-1000 does not power on due to a broken or malfunctioning power switch, follow this guide for a step-by-step on how to replace it. You’ll need to know how to use basic tools like a soldering iron and a lint-free cloth, as well as some patience if you are new to soldering.

  1. AxavRoIe5aKFUVFZ
    AxavRoIe5aKFUVFZ
    QHLSMuQMkEX5gJGm
    • Use a Phillips #1 screwdriver to remove the eleven 7.5 mm screws securing the back plate.

  2. 3gI6qEMThnraVaOv
    3gI6qEMThnraVaOv
    xYmHXiL5RYgesGQt
    6CBlwtt5NAsdgU4H
    • Using a Phillips #1 screwdriver, remove all 14 5.5 mm screws from the two motherboards.

    • These screws secure the motherboards to the keyboard assembly and the dial on the right side.

  3. q6HpFPuKTFWmwySS
    q6HpFPuKTFWmwySS
    biNQkYLF1dP5IGQh
    TWOZcGK3kQCs5ER5
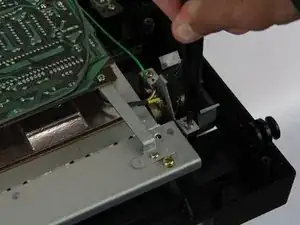
    • Carefully cut the zip tie located in the right-hand corner using a pair of scissors or wire cutters.

    • Be sure to avoid cutting any nearby wires or components.

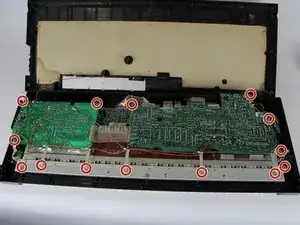
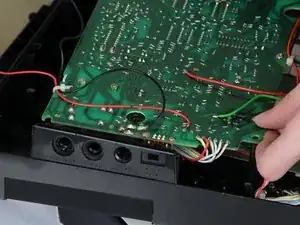
    • Gently slide all the plugs out of their sockets.

    • This will prevent them from catching on anything or damaging the connectors as you lift.

  4. VUEXMaZsRYq1anas
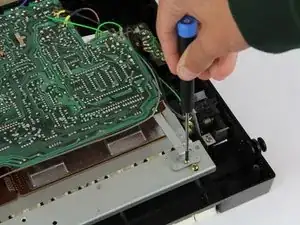
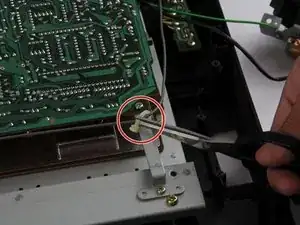
    • Remove the two 5.5 mm screws holding the power switch to the case using a Phillips #1 screwdriver.

  5. GXF2F1QbiN4QZPJ2
    GXF2F1QbiN4QZPJ2
    Renl1VESIvJ1y4dt
    cjjsjAdbotqgvtS2
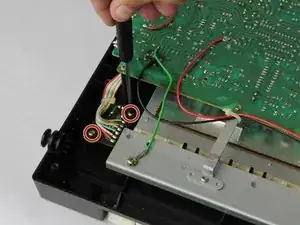
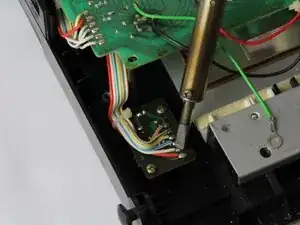
    • Heat the soldering iron and use a desoldering braid or pump to remove the solder from the pins of the old switch.

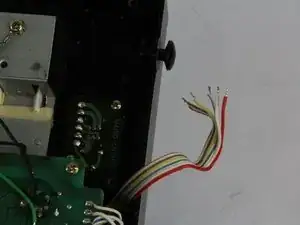
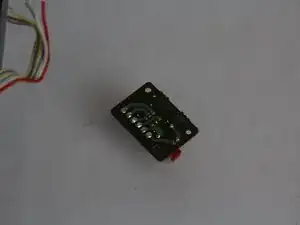
    • Once the solder is removed, gently pull the old switch out of its place.

    • If the replacement switch doesn’t have pre-attached leads, you’ll need to solder wires to it. If it has leads, align them with the matching holes on the PCB where the old switch was connected.

    • Position the new switch in place, ensuring the leads align correctly with the pads on the PCB. Solder the leads securely, using just enough solder to create a strong connection without any excess that might cause shorts.

Conclusion

To reassemble your device, follow these instructions in reverse order.

Luke Farmer

Member since: 05/11/24

235 Reputation

0 comments