Introduction
If your Miele vacuum starts making funny noises or giving off burning smells don't throw it away replace the bearings!
-
-
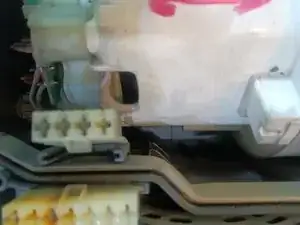
Start by undoing phillips screws usually about a half dozen using thin shafted phillips head screw driver. If the body doesn't release easily you've missed a screw somewhere!
-
-
-
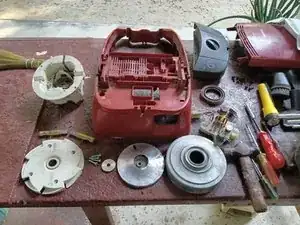
I find it useful to lay parts on bench or similar in order you take them off. Take phone pics as memory guide too!
-
-
-
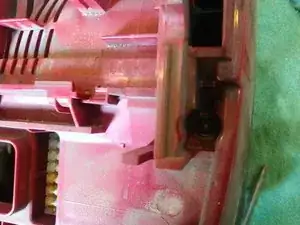
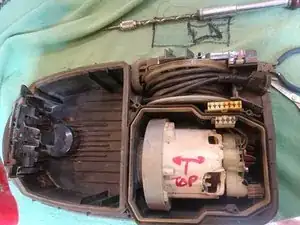
Lift out motor it helps if you Mark top of motor for reassembly later. Remove rubber seal at front, note how it fits for later
-
-
-
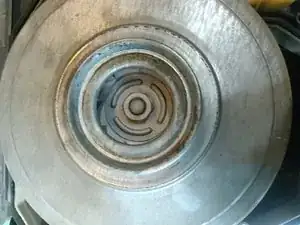
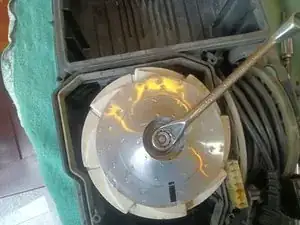
This is done by pulling it off with immense strength of by gently tapping with screw driver blade on edge of cover
-
-
-
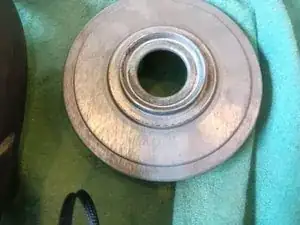
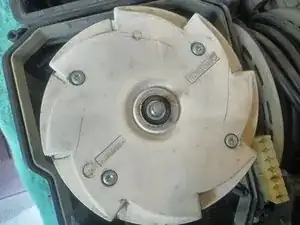
Remove fan blade NOTE THIS IS A LEFT HAND THREAD SO TURN IT THE OPPOSITE WAY TO NORMAL TO UNDO I.E. CLOCKWISE. Hold the fan blade wiith a cloth and use 13mms ring spanner or similar
-
-
-
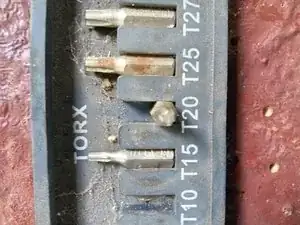
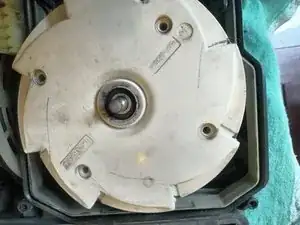
Now remove star screws to remove plastic plate on my model it was anderson(star) T20 bit. Excuse dirt!
-
-
-
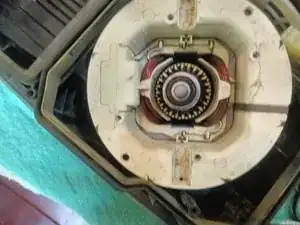
Remove motor brushes at 12 and 6 oclock, should now look like this. (Make sure at reassembly, you replace brushes where they came from right to right left to left.as they wear slightly differently).
-
-
-
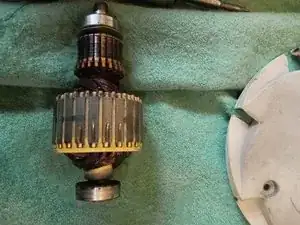
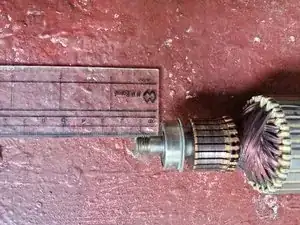
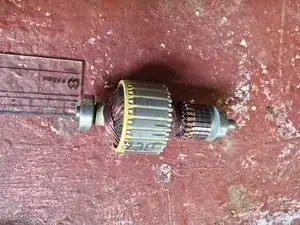
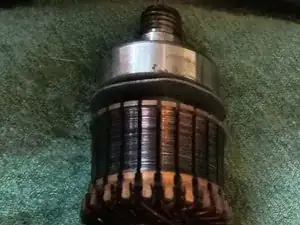
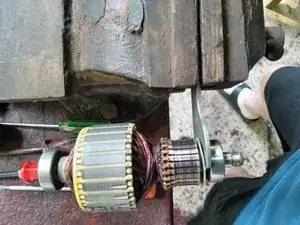
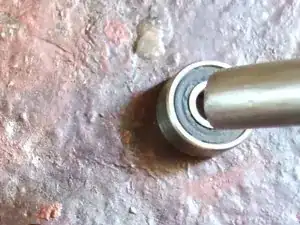
Lift out motor armature assembly clean and replace bearings. YOU NEED TO MEASURE AND NOTE EXACTLY THE POSITION OF THESE BEARINGS TO THE mm AS ANY ERROR IN REASSEMBLY WILL BE CATASTROPHIC. On my model it was 12mm to end of shaft at top bearing and 2.5 mm on bottom. It varies according to model
-
-
-
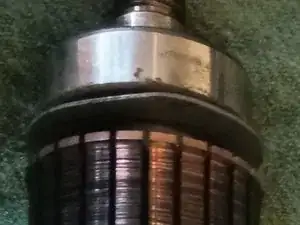
Note washer below top bearing (this is the hearing most prone to fail). The bottom bearing may not need replacing. Carefully lever this washer down until it sits on top of armature cylinder. After you remove bearing washer will come off too. Crimp inner did it washer with small pliers and replace in original position prior to fitting new bearing
-
-
-
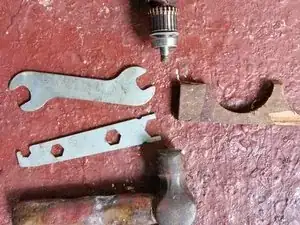
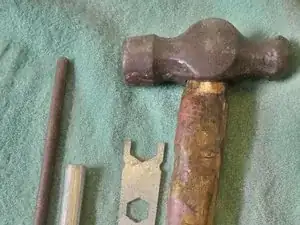
Imagine the washer is sitting flush on the armature this leaves a gap to insert a thin bicycle spanner. I used a bicycle spanner that i set in vice and angled up so motor does not fall out. I could steady with one hand and with same hand hold small piece of hardwood to end of bearing shaft and tap with small hammer extra pair of hands could help!
-
-
-
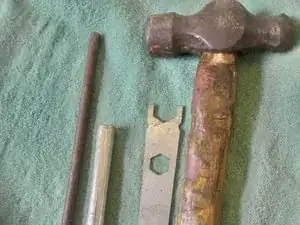
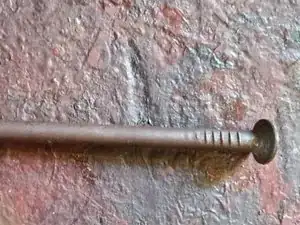
tricky bit another pair of hands is useful, a vice or work bench. Place the spanner under the bearing and place the spanner in a position on a bench where it takes the weight. Tap gently on motor shaft with hammer out with scrap yard wood in between, SAVE THREADS!!. You can use a cut off six nail to push shaft as bearing starts to move.
-
-
-
If bearing sticks and wont budge. Heat bearing metal with soldering iron and place tip of ice cube on shaft end. Sounds crazy but it works as bearing is oe or two thou shrink fit
-
-
-
The bearing will drop off. Place the new bearing on shaft and tap down using a mild steel pipe that is just bigger than shaft in other words rests on the inner bearing ring only. Tap down into exact position you noted in measurement before. To the mm!
-
-
-
Repeat with bottom bearing but if bottom bearing looks OK don't bother. Replace motor in housing. THERE IS A SPRING CLIP AT BASE OF MOTOR HOUSING MAKE SURE IT IS IN PLACE TO REST BOTTOM BEARING ON. Once motor is seated you can test by gently pushing on shaft end you should feel a couple of mm springy give.
-
-
-
Now just repeat in reverse the disassembly steps. Replace plastic housing star screws. Replace washer position fan and top washer. Replace fan using CLOCKWISE action, left thread. Replace fan cowling etc etc you get t he idea. Good luck. My Miele is now been going 30 years on third set of bearings they cost £3 each
-


To reassemble your device, follow these instructions in reverse order.
7 comments
Great guide Gary, it may also prove a handy aid to your memory when you replace them again after another 30 years!
What is the best bearing to use? I can find bearings under $1 ea. Or as much as $25 ea.
If your outside UK remove bearing, has ref number on it, search online and get best match at best price. No need to pay more than $5 each bearing
I used rmbearings.co.uk contact them at sales@rmbearings.co.uk and ask which bearings they recommend. I paid about £6 for two. Shouldn't be more than £8 incl postage
Hi Gary,
I don't suppose you know which ones they sent you do you?
On an invoice perhaps?
Would save a lot of back and forth if you do.
Thanks,
Jim.