Introduction
This guide provides step-by-step instructions for replacing a failing blow-off valve (BOV) in a 2012 Hyundai Genesis Coupe 2.0T. A failing blow-off valve (BOV) in your 2012 Hyundai Genesis Coupe 2.0T can lead to poor turbocharger performance, excessive stress on engine components, and reduced vehicle efficiency. This guide provides a step-by-step process for replacing a defective BOV with a new one, saving you the costly labor fees of a professional mechanic while ensuring your turbocharged engine performs optimally. The procedure is simple, requires basic tools, and can be completed from the top of the engine bay in under 30 minutes.
Tools
Parts
-
-
Pop the hood open using the latch inside the car.
-
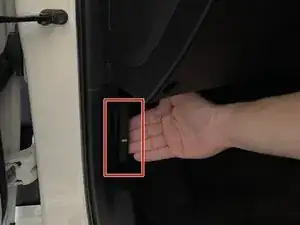
Press on the latch under the hood to expose the engine.
-
-
-
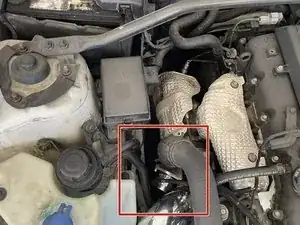
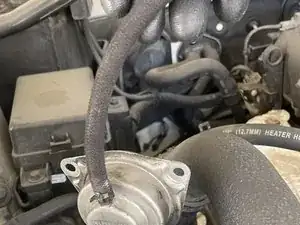
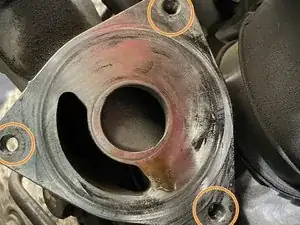
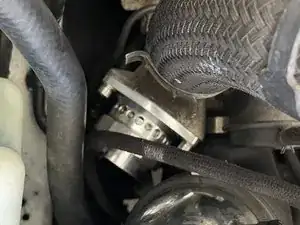
The blowoff valve (BOV) is located near the turbocharger on the passenger side of the engine bay.
-
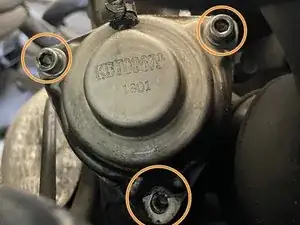
Remove the three bolts connecting the BOV to the Turbo using a 5 mm Allen wrench.
-
-
-
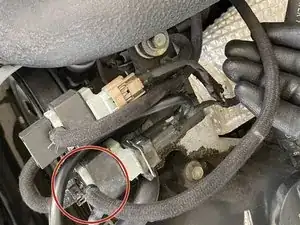
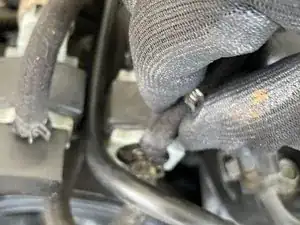
Follow the BOV's hose to the BOV solenoid.
-
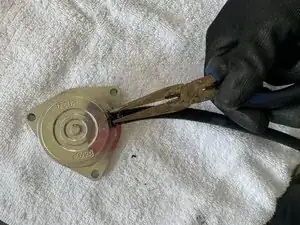
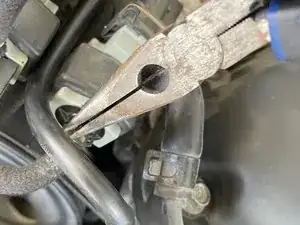
Use the pliers to loosen the clamps and disconnect the hose from the solenoid gently.
-
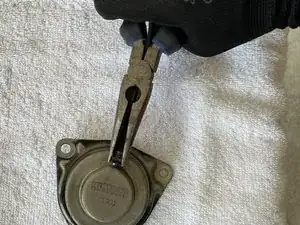
Carefully disconnect the old BOV and inspect the hoses and flange for any debris or damage.
-
Use the pliers to looser the clamps on the BOV and disconnect the hose gently.
-
-
-
Using the pliers, reattach the hoses to the new BOV, ensuring they are securely clamped. Tighten all clamps to prevent leaks.
-
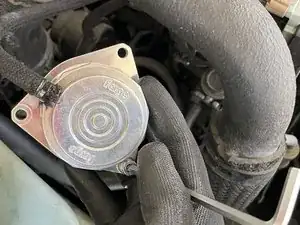
Lower the replacement BOV with the hose and align it with the mounting flange.
-
Tighten the mounting bolts removed earlier using a 5mm Allen wrench.
-
-
-
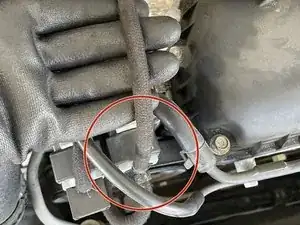
Reconnect the hose to the BOV solenoid.
-
Guide the clamp down using the pliers.
-
Start the car and rev the engine gently. The new BOV should release excess pressure with a clear “whoosh” sound.
-


Take the vehicle for a short test drive to ensure proper operation under load.